CCW Courses and Tips, Carry Techniques and Optimization
Large Body Carry Adjustments: Comfortable, Effective Concealment
Large body carry presents unique challenges that most standard advice ignores. Your frame, your weight distribution, and your clothing all demand different solutions than what works for smaller carriers.
At Cloudster Pillow, we’ve worked with countless larger carriers who ditched uncomfortable setups and found real relief through simple adjustments. This guide covers the gear changes, positioning tweaks, and training shifts that actually make a difference.
Why Your Body Changes Everything
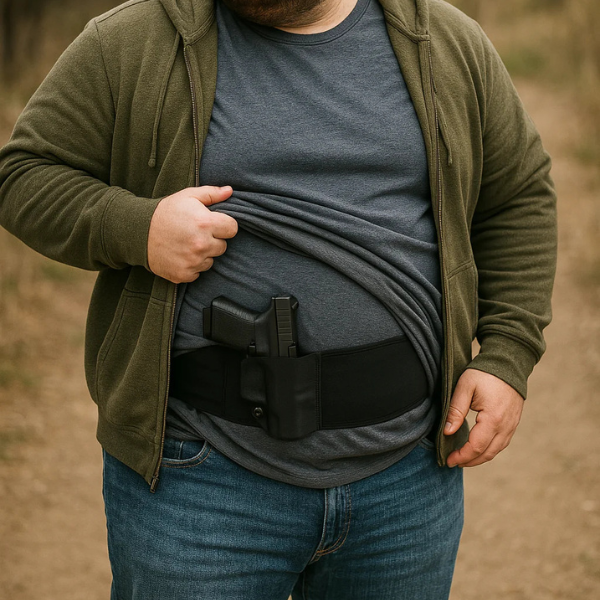
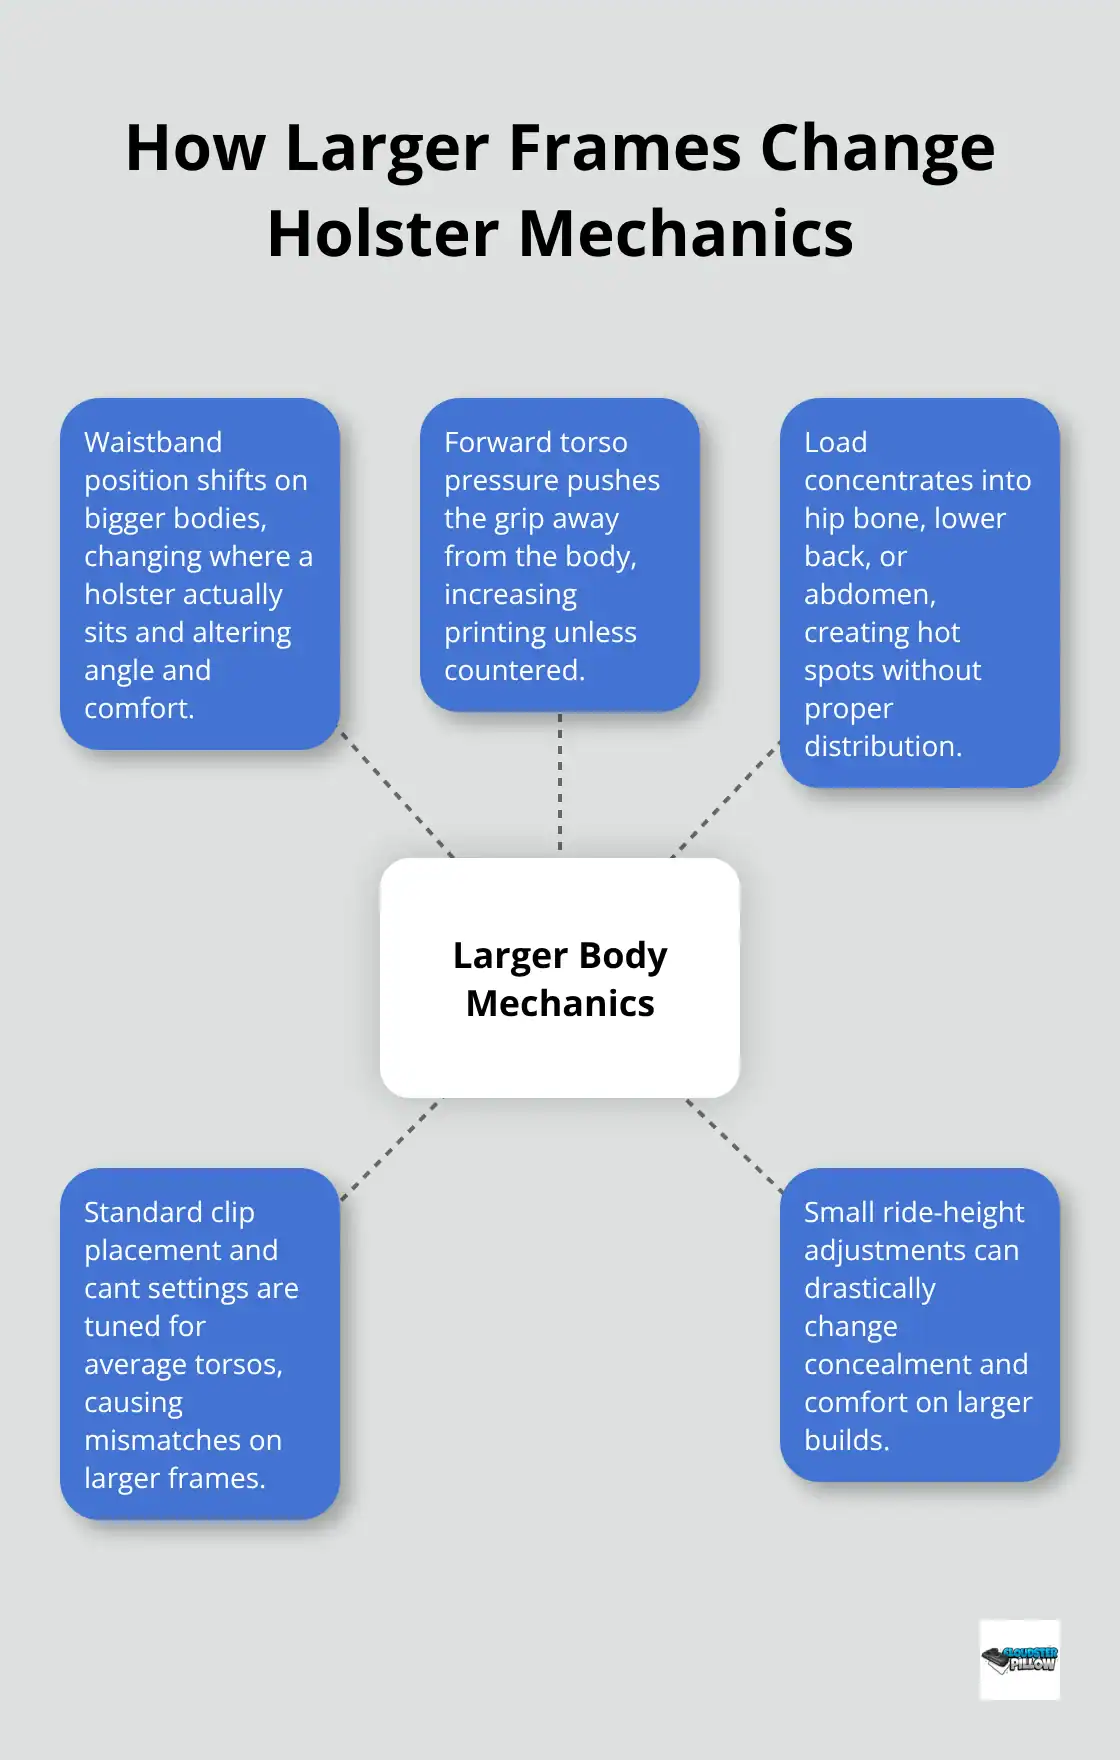
Larger carriers face physics that smaller frames don’t. When you carry 50 or 100 pounds more than average, your waistband doesn’t sit where standard holster designs assume it will. Your stomach creates forward pressure that pushes a holster away from your body, causing printing even with deep concealment. Your hip bones sit differently, your torso extends further, and your belt loops pull at different angles. A holster positioned at the 3 o’clock position on a 180-pound frame sits somewhere entirely different on a 280-pound frame. The weight of the firearm doesn’t distribute evenly across your waistband the way it does for smaller carriers. Instead, it concentrates pressure on specific points: your hip bone, your lower back, or directly into your stomach. Most holster manufacturers design for an average male torso, which means their retention clips, ride height adjustments, and cant angles are optimized for bodies that don’t match yours.
This isn’t a comfort preference; it’s a mechanical problem that requires targeted solutions.
How Your Body Shape Affects Holster Fit
The digging sensation you feel isn’t weakness or poor tolerance-it’s a holster designed for a different body. When a holster digs into your hip bone or sits too tight against your abdomen, it won’t improve with time or mental toughness. The pressure points develop because the holster’s footprint doesn’t match your body’s contours. A wider holster footprint distributes weight across more surface area, which reduces pressure concentration. Adjusting your cant-the angle at which your holster sits-can shift pressure away from your most sensitive areas. A modest forward cant, around 15 to 20 degrees, often reduces stomach digging for larger carriers.
Finding Your Ideal Cant and Ride Height
Ride height matters equally to cant angle. If your holster sits too high, it presses into your rib cage; too low, and it digs into your hip bone or creates waistband sag. Testing these adjustments at home for several hours during normal activities reveals which combination actually works. Sit, stand, bend, and reach while wearing your setup. A one-inch change in ride height or a 5-degree shift in cant can eliminate pressure points that previously made all-day carry impossible. These small mechanical tweaks transform your entire carry experience without replacing your holster or firearm.
The next section covers the specific gear adjustments that work-from holster wedges to belt solutions-that take these positioning principles and turn them into real comfort gains.
Gear That Closes the Gap Between Discomfort and All-Day Carry
You’ve adjusted your cant and ride height at home, but printing still happens when you move through the real world. Your holster shifts slightly when you sit, your clothing rides up, and pressure builds after eight hours at work. Targeted gear modifications make the actual difference between a setup you tolerate and one you actually wear.
The Foundation: Why Your Belt Matters More Than You Think
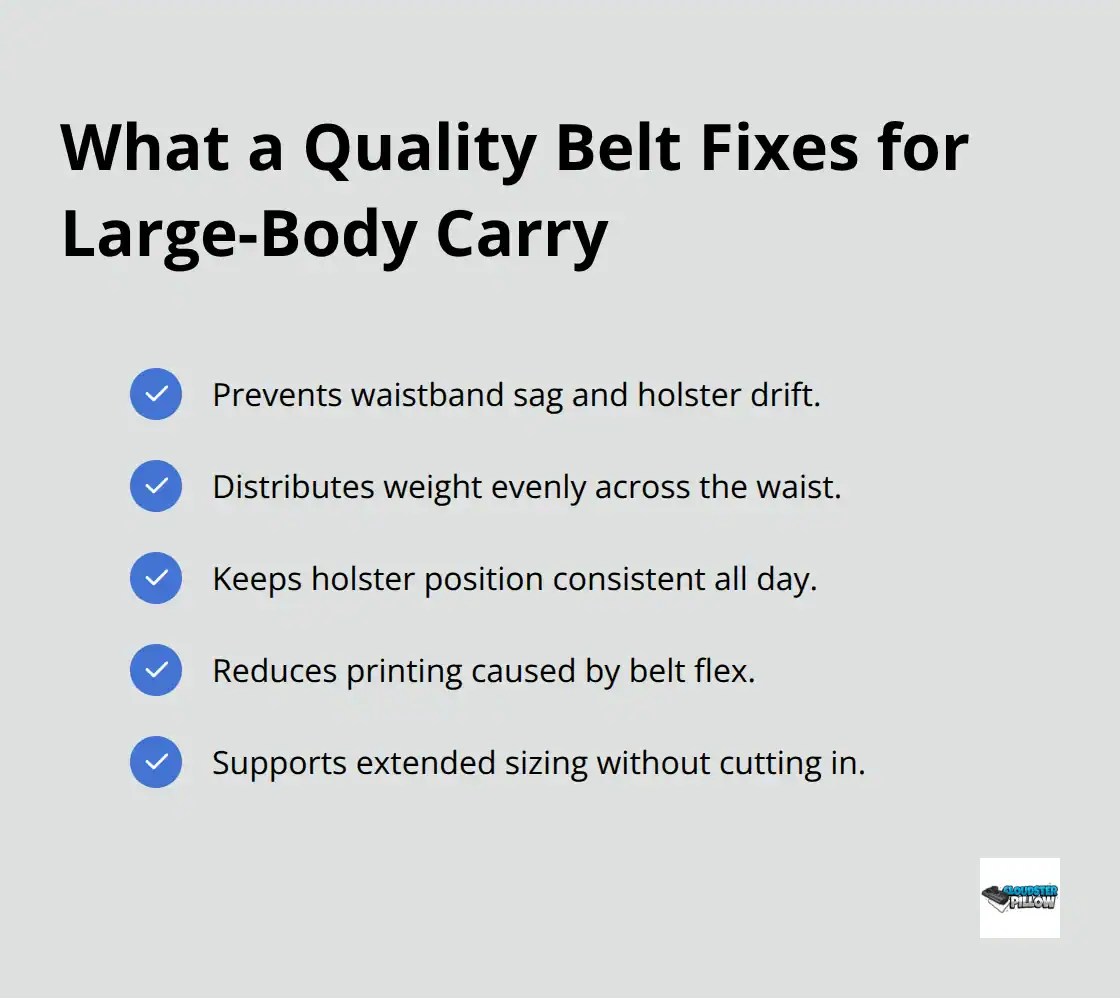
A sturdy belt forms the foundation of your entire carry system. Flimsy webbing causes your holster to sag and shift throughout the day, which amplifies printing and pressure points. A quality EDC belt designed specifically for larger carriers uses dual-layer reinforced construction and extended sizing that prevents the waistband sag that plagues standard belts. The width distributes weight evenly without cutting into your sides. When your belt stays rigid, your holster stays positioned consistently, which means your concealment doesn’t degrade as the day progresses. Without a quality belt, even the best holster adjustments fail because your entire rig drifts downward and forward.
Holster Wedges: Solving the Forward Pressure Problem
Holster wedges address the specific printing problem that larger frames create-forward pressure from your torso pushes the grip away from your body. A wedge fills the space between your body and the holster grip to keep the firearm closer and reduce the outline through your shirt. This solution works for both IWB and AIWB carry and costs far less than replacing your holster entirely. Position the wedge at your lower abdomen or hip, depending on where your body creates the most forward pressure. Many larger carriers report that a wedge eliminates printing in untucked shirts where it previously showed through even heavy fabric.
Testing and Refining Your Setup
The adjustment takes seconds-no tools, no permanent modifications required. Test your wedge placement at home during sitting, bending, and normal movement to find the spot that stops printing without creating new pressure points. Combined with your cant and ride height adjustments, a quality wedge transforms a marginal setup into one you’ll actually wear all day. These mechanical solutions work because they address the actual physics of your body rather than forcing you to adapt to equipment designed for someone else.
With your belt, holster positioning, and wedge working together, your gear foundation is solid. The next step involves the clothing choices that either amplify or eliminate printing-and how to dress strategically for concealment without sacrificing comfort or style.
Training and Mindset Tips for Larger Carriers
Your draw technique shifts when you carry on a larger frame. Standard advice about clearing your garment and accessing your grip assumes a torso that doesn’t match yours. When you sit at a desk, bend forward, or move through tight spaces, your holster position shifts relative to your body in ways smaller carriers never experience.
Adjusting Your Drawing Technique for Your Body
Test your actual draw from concealment while seated-this matters far more than dry-fire practice standing upright. Sit in your car, at a desk, and on a couch wearing your complete carry setup: belt, holster, firearm, and the shirt you’ll wear in public. Practice your draw from each position multiple times. You’ll quickly discover whether your current cant and ride height allow you to grip the firearm without lifting fabric, or whether you need to adjust before carrying in public.
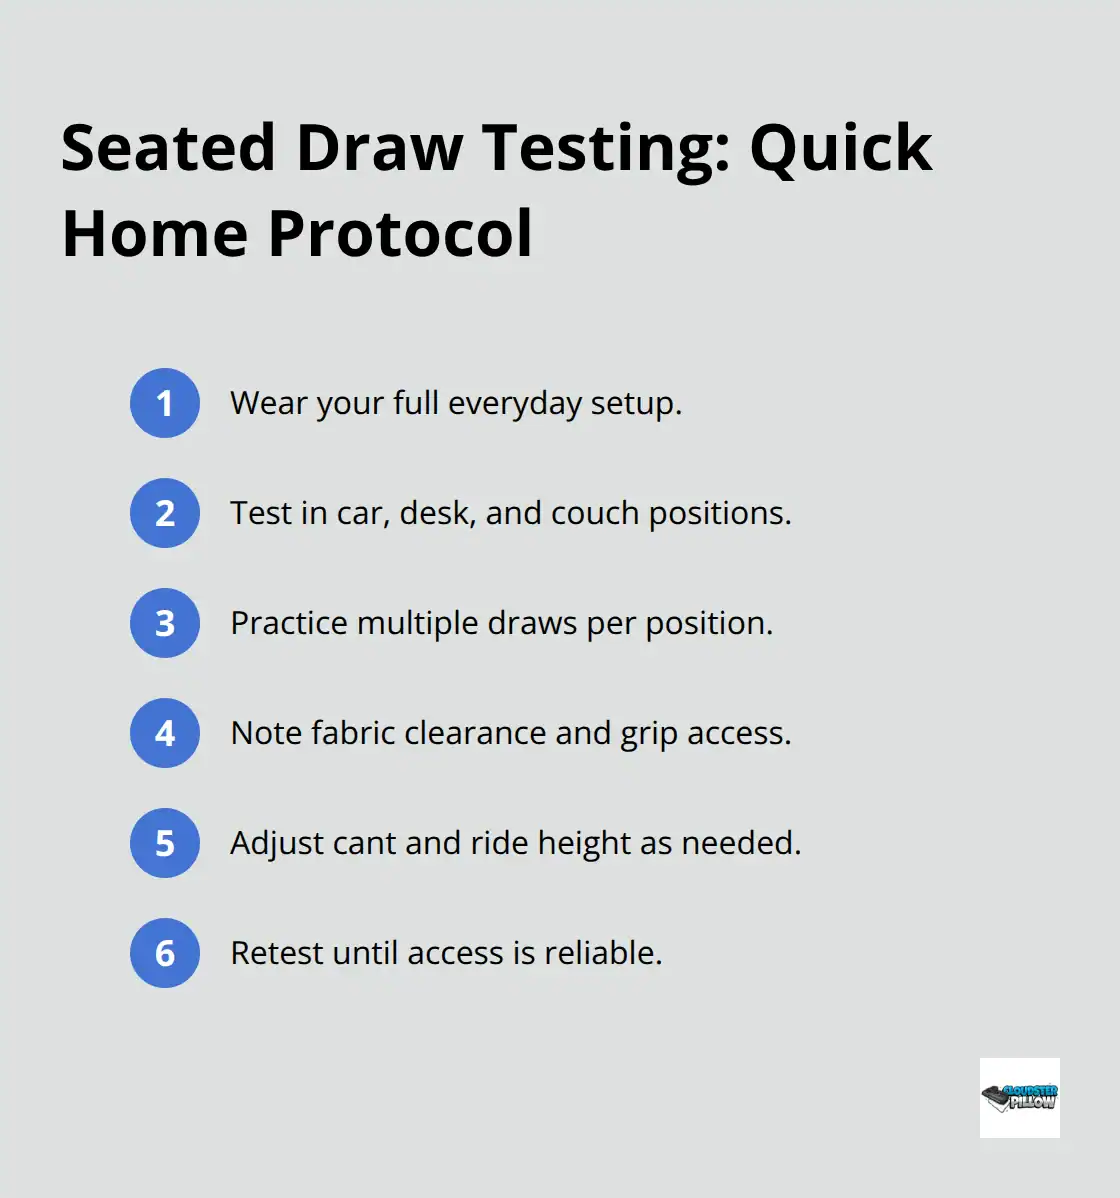
Many larger carriers find that a slightly higher ride height helps seated draws, even if it feels awkward when standing. Your clothing clears differently when you move, so test with the actual shirts you wear daily. A shirt that clears fine when standing might catch on your holster when you bend forward at the waist. These real-world movements reveal problems that static practice misses entirely.
Your draw speed matters less than reliability. If you fumble because your setup doesn’t match your body, no amount of speed training helps. Adjust your holster positioning, clothing, and wedge placement based on what these seated and bending tests reveal, then practice again. This iterative approach takes time but builds actual confidence because you’ve tested your setup under the conditions you’ll face.
Clothing Choices That Enhance Concealment
Larger frames require intentional clothing choices that smaller carriers can ignore. Wear shirts that drop at least two inches below your waistband when carrying IWB or behind the hip-this single rule eliminates most printing problems. Untucked hems work far better than tucked styles because they move with your body instead of riding up when you sit or bend.
Heavier fabrics like cotton blends and canvas hide outlines better than thin materials, and patterns break up visual lines that reveal gun shape. Layering adds concealment without overheating: a flannel shirt, light jacket, or vest creates shadowing that makes printing nearly invisible even with modest cant adjustments. Prioritize zippers over buttons in outer layers because you can open them quickly for access without fully removing the garment.
In warm weather, moisture-wicking undershirts reduce sweat buildup that causes holster shifting and discomfort during long carry days. Your pants matter equally-reinforced belt loops prevent your holster from pulling the waistband down, and deeper pockets help balance weight distribution across your hips. Avoid low-rise styles that promote holster movement and print more easily.
Building Confidence in Your Daily Carry Setup
Test every clothing combination at home for several hours before wearing in public. Walk, sit, bend, and reach in each outfit to confirm the shirt stays in place and your firearm stays hidden. Once you identify clothing that actually works, purchase duplicates so you have reliable options throughout the week.
This removes daily guesswork and builds the consistency that transforms carry from stressful to automatic. These clothing choices work because they address the specific printing challenges larger frames create. A quality holster wedge pairs perfectly with your clothing strategy to keep your firearm closer to your body and reduce the outline through your shirt. Combined with your adjusted cant, ride height, and intentional wardrobe, your complete setup delivers both comfort and concealment that actually lasts through your entire day.
Final Thoughts
Large body carry works when your setup matches your actual body, not when you force yourself into equipment designed for someone else. The adjustments covered throughout this guide-cant angles, ride height tweaks, quality belts, and holster wedges-solve real problems that standard advice overlooks. These aren’t minor preferences; they’re mechanical solutions that transform carry from uncomfortable to sustainable.
Your ideal setup emerges through testing, not theory. Spend several hours at home in your actual clothing, sitting and moving the way you do at work and in daily life. Notice where pressure builds, where printing shows, and where your draw feels restricted. Make one adjustment at a time so you understand what actually helps-a modest cant shift might eliminate stomach digging, a holster wedge might stop printing through your favorite shirt, or a quality belt might finally keep your entire rig stable throughout the day.
Comfort and concealment reinforce each other, so when your setup feels good, you wear it consistently. A holster wedge from Cloudster Pillow addresses the forward pressure problem that larger frames create, keeping your firearm closer to your body without replacing your entire holster. Combined with your adjusted cant, ride height, and intentional wardrobe, these practical solutions deliver the comfort and concealment that actually last through your entire day.