Uncategorized
Dry Fire Training System: Build Skill at Home with Pro-Level Reps
Train Smarter — Not Harder
Build reliable draw speed and accuracy by training with the exact carry system you use every day.
How to Design a Professional Dry Fire Training System at Home
Incorporating a dry fire training system into your routine can enhance your skills dramatically.
Dry-fire training is the fastest, most affordable way to build repeatable, life-saving skill. But not all practice is created equal — the difference between sloppy repetition and productive training is a structured routine and training with the exact gear you carry every day. This guide gives a safe, step-by-step plan for a professional dry-fire training routine you can do at home, and shows why a stable carry system — including the Cloudster Pillow Holster Wedge — matters for real-world transfer.
A professional dry fire training system ensures that you are practicing effectively every time.
Safety First — Make Your Training Environment 100% Safe
Make safety your absolute first priority. Dry-fire safety isn’t optional.
Implementing a dry fire training system can significantly reduce risks during practice.
- Remove all live ammo: No live rounds in the room, pockets, magazines, or chamber. Verify visually and physically.
- Use a safe backstop: Point at a designated, safe direction — concrete, brick, or a purpose-built bullet trap. (Do not use thin drywall as your backstop.)
- Triple-check the firearm: Inspect chamber and magazine wells before every session, every time.
- Eliminate distractions: Phones off, family/pets notified, door closed — treat dry-fire like a professional training block.
Essential Gear for Effective Dry-Fire
Choosing the right components for your dry fire training system is crucial for success.
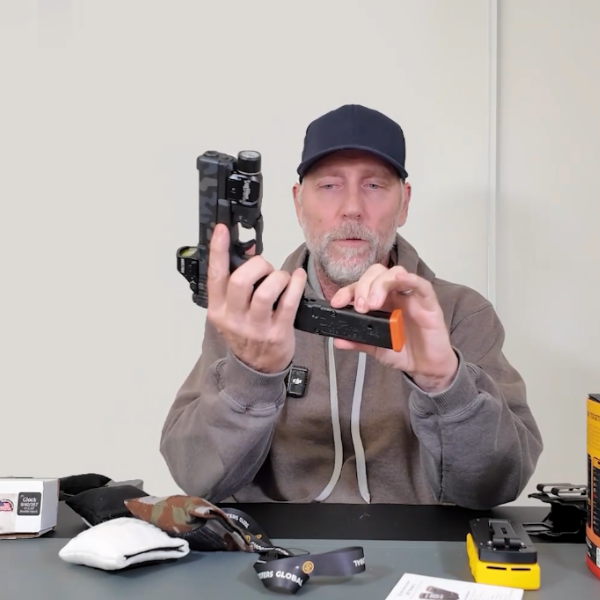
- Your EDC setup: Train with the exact firearm, holster, belt, and accessories you carry. Consistency of equipment builds transferable muscle memory.
- Shot timer: Use par-time features to progressively stress speed without sacrificing mechanics.
- Targets: Small, precise points for close-range work in the room.
- Snap caps / dummy rounds: For safe reload and malfunction practice.
- Training log: Record times, mistakes, and incremental goals.
For safety and technique references, see the National Shooting Sports Foundation’s guidance on dry-fire safety and the USCCA’s dry-fire resources. (External resources included below.)
Utilizing a dry fire training system can help you refine your technique with every session.

Core Drills — The Building Blocks
Drill 1 — The Master Grip & Draw Stroke
-
- Establish a full, high firing grip while the gun is holstered.
Ensure your dry fire training system includes all necessary gear for effective practice.
- Draw vertically to clear, rotate toward target, meet hands, and extend to sights.
- Use a slow, smooth tempo — build the perfect movement before speeding up.
Drill 2 — Perfect Trigger Press
With a comprehensive dry fire training system, you can develop consistency over time.
From the extended position, press the trigger straight back in one smooth motion. The “click” should be a surprise. Train until the trigger press doesn’t disturb the sights.
Drill 3 — Target Transitions
Place two or three targets within the room. Look first at the next target, then swing the gun there. Eyes lead, hands follow.
Every drill should be tailored to your dry fire training system for optimum results.
Drill 4 — Reloads & Malfunctions (With Snap Caps)
Practice tactical and emergency reloads using dummy rounds. Focus on bringing the magazine to the gun, not the gun to the magazine.
Structuring a Focused 15-Minute Session
Each session in your dry fire training system should focus on building essential skills.
Short, consistent sessions beat long, infrequent ones. Try this template 3–5× per week:
- Warm-up (2 min): 5–10 slow perfect draws (no timer).
- Skill Block 1 — Draw (5 min): Par time practice (find a realistic par, e.g., 1.8–2.2s). Do reps, then shave 0.1s when consistent.
- Skill Block 2 — Trigger Control (4 min): Slow, deliberate presses on a small aim point. Call your shot.
- Skill Block 3 — Transition/Reload (4 min): Timed transitions or reloads using snap caps.
Common Questions
How often should I dry-fire? 10–15 minutes, 3–5 times weekly produces significant gains over months.
By consistently applying a dry fire training system, you can achieve measurable progress.
Will dry-fire damage my firearm? Modern center-fire pistols typically tolerate dry-fire. Use snap caps for rimfire and vintage designs; consult your owner’s manual.
Why train with my EDC gear? Training with the same firearm, holster, and belt ensures mechanical consistency. If your holster tilts or your grip changes, your dry-fire reps won’t transfer. Using a stable platform — like a properly adjusted holster and the Cloudster Pillow Holster Wedge — locks in consistent indexing for every rep.
Integrating a dry fire training system into your regimen will enhance overall performance.
Measure Progress — Track What Matters
Log your par times, best/worst reps, and the specific error (grip, clearance, trigger). Weekly trends are the proof that your training is working.
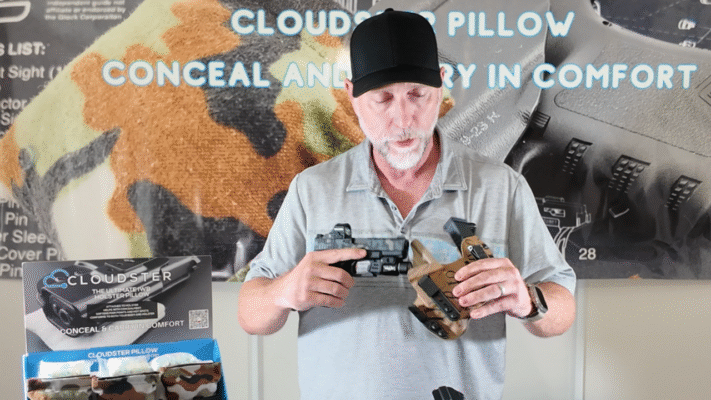
Stabilize Your Carry — Improve Your Training
Train with the exact carry system you use daily. The Cloudster Pillow gives a repeatable platform so every dry-fire rep counts.
External Resources
Build your skill on a foundation you can trust: consistent gear, consistent reps, and consistent safety.
Pingback: Holster Draw Techniques for Mastering Essential Skills
Pingback: What to Expect in Your First Concealed Carry Class - Cloudster Pillow