Carry Techniques and Optimization, CCW Courses and Tips
Essential Draw Techniques Every CCW Holder Should Practice

Your concealed carry permit is just the beginning. The real work starts with mastering proper holster draw techniques that could save your life.
We at Cloudster Pillow know that muscle memory separates prepared carriers from those who simply own firearms. Speed without accuracy means nothing in a real defensive situation.
Most CCW holders practice shooting but neglect the draw itself. This gap in training creates dangerous hesitation when seconds matter most.
How Do You Draw Safely and Effectively?
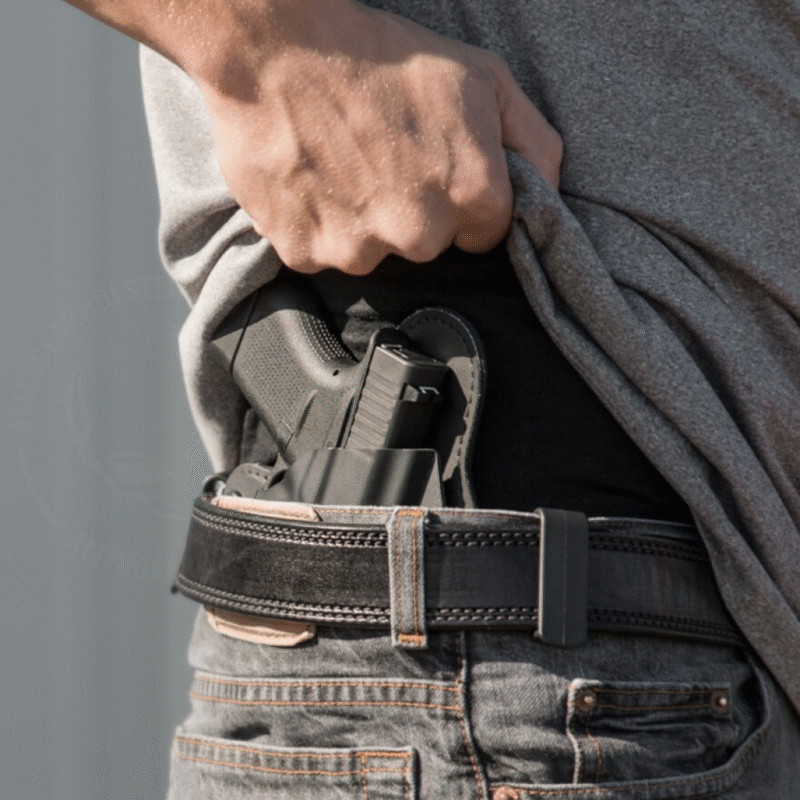
Your draw starts before your hand touches the firearm. The National Rifle Association emphasizes that learning to draw from concealment is best approached by first mastering the technique from an open-carry position – your hand must achieve a full, high grip on the pistol while it remains in the holster. This pre-grip technique reduces draw times significantly. Your support hand simultaneously clears your cover garment with a deliberate upward motion, which creates an unobstructed path for your firearm.
Muzzle Control Throughout the Draw
The muzzle must point downrange or in a safe direction during every millisecond of your draw. Law enforcement protocols require the pistol to rotate toward the target only after it clears the holster completely. Your draw stroke should follow a straight vertical path from the holster, then rotate the muzzle toward your target as the firearm reaches chest level.
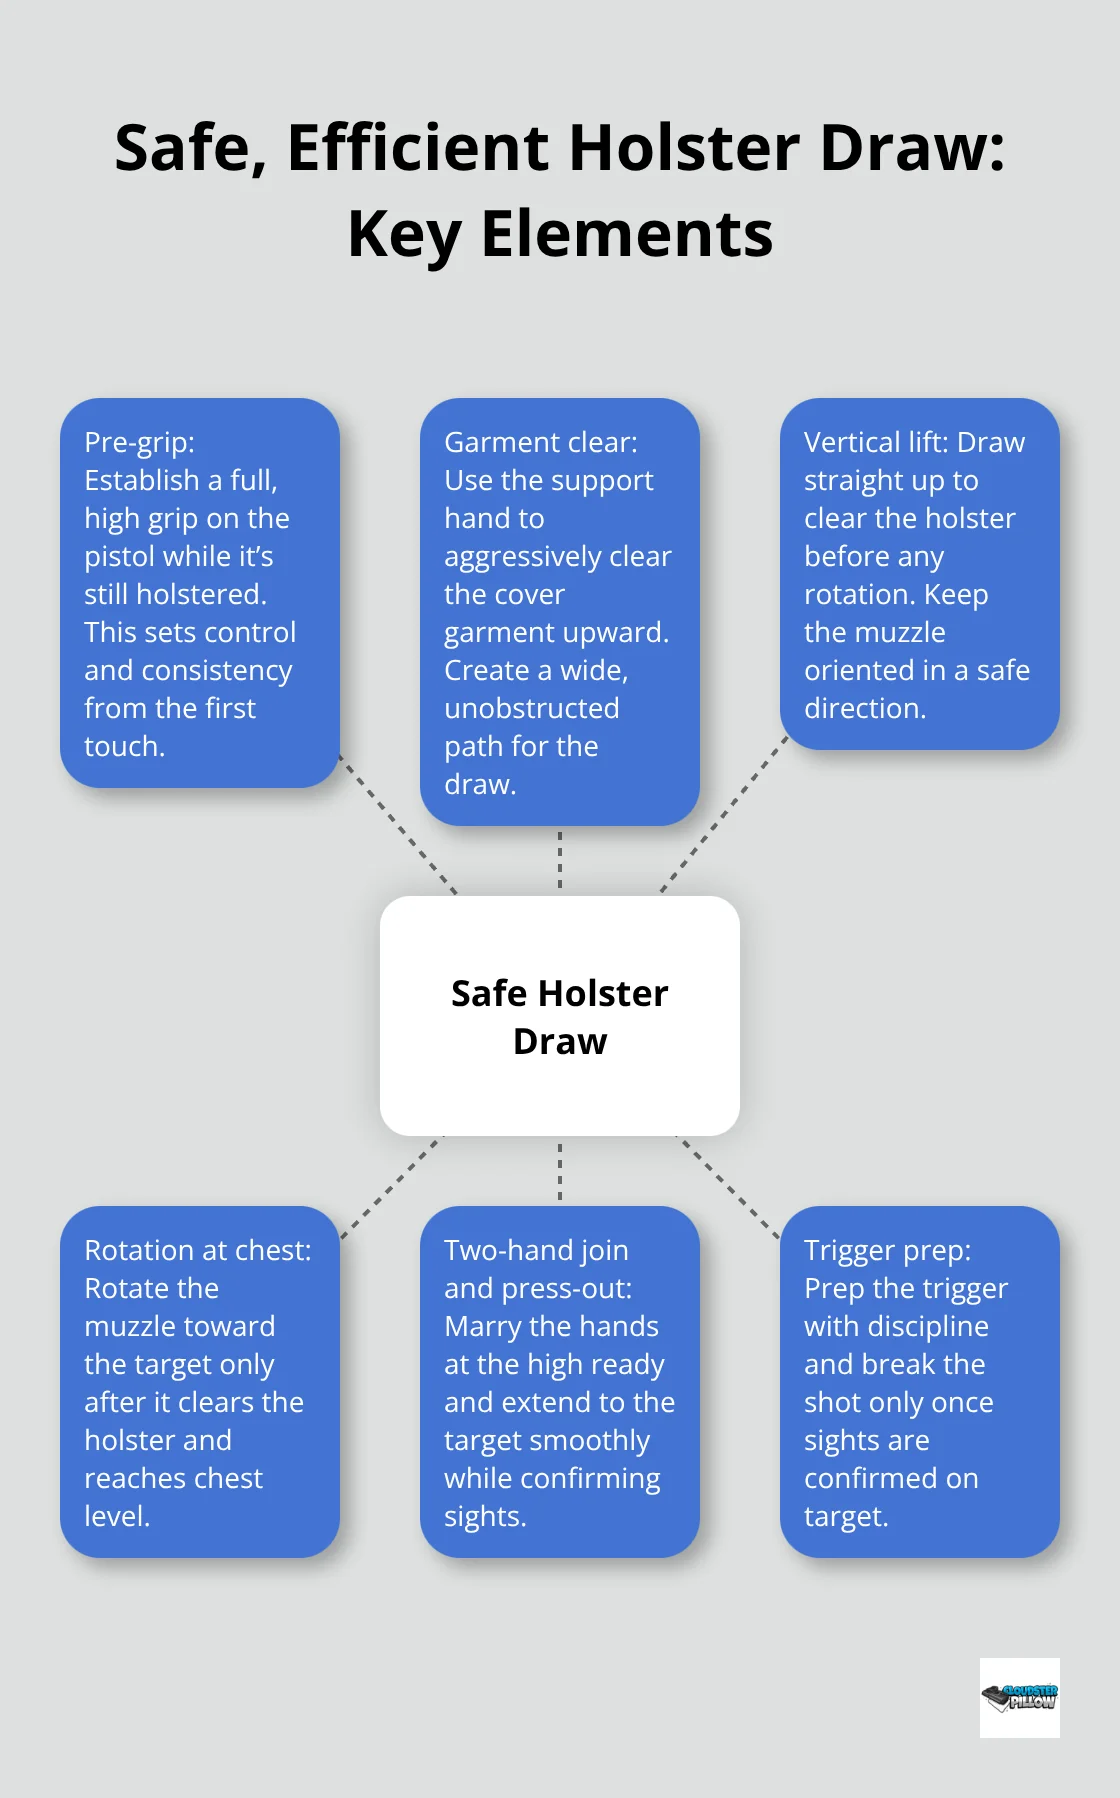
This technique prevents you from sweeping yourself or others with the muzzle – a violation that causes accidents during training.
Stance and Body Mechanics
Your feet should be shoulder-width apart with your strong-side foot slightly back, which creates a stable platform before you even begin the draw. The International Defensive Pistol Association recommends a slight forward lean that positions your center of gravity over your support leg. This stance allows you to draw while you maintain balance if you need to move or if contact occurs. Your non-dominant shoulder should angle slightly toward the threat, which reduces your profile while it optimizes your draw mechanics. Experienced shooters achieve fast draw times when they use this body position consistently.
These fundamentals form the foundation, but consistent practice transforms knowledge into instinctive response.
How Do You Train for Speed and Accuracy?
Dry Fire Training at Home
Your living room transforms into your training ground with proper dry fire practice. Start with 50 repetitions of your complete draw stroke and focus on smooth movement rather than speed. Use a timer app to track your progress-experienced carriers achieve consistent 1.5-second draws from concealment to first shot.
Practice clear garment movement with your support hand while your strong hand establishes grip. Work on your trigger press after each draw and maintain sight alignment through the break. This builds the neural pathways that make your response automatic under stress.

Live Fire Range Progressions
Range training validates your dry fire work with actual ammunition. Start at 3 yards with a man-sized target and draw to fire one shot every 3 seconds. Studies show that defensive gun uses average 1.82 million yearly, with 62.7 million civilians carrying handguns for self-defense, which makes close-range accuracy your priority. Progress to draw-and-fire sequences with two quick shots, then move to 5 and 7 yards as your accuracy improves.
Ball and Dummy Drill for Trigger Control
The ball and dummy drill exposes problems with trigger anticipation that slow your accurate fire. Load your magazine with dummy rounds randomly mixed with live ammunition. When you encounter a dummy round during your draw sequence, any movement of your sights reveals anticipation issues. This drill forces you to follow through properly on every trigger press (which translates to better accuracy when it matters most).
These training methods build competence, but even experienced shooters make mistakes that compromise their effectiveness under pressure.
What Drawing Mistakes Ruin Your Response Time?
Clothing Creates the Biggest Draw Failures
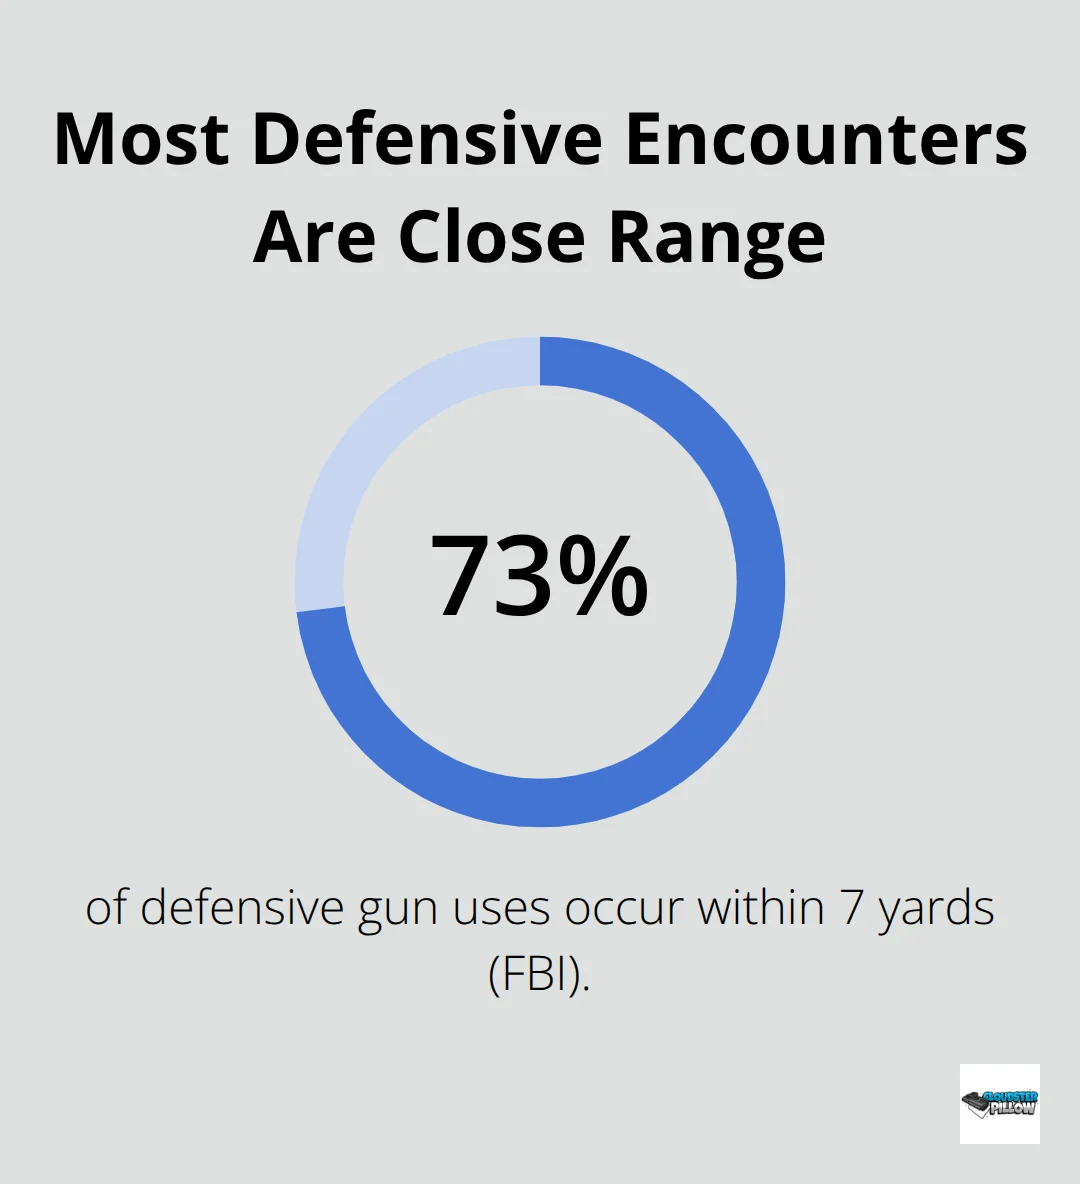
Your cover garment becomes your enemy when you grab fabric instead of your firearm grip. The FBI reports that 73% of defensive gun uses happen within 7 yards, which means you have zero time for clothing fumbles. Heavy jackets and untucked shirts cause the most problems – your support hand must practice aggressive garment clearing with a full upward sweep that creates maximum space.
Thin materials like polo shirts require different techniques than thick hoodies. Practice with every piece of clothing you actually wear while carrying (because your winter coat technique fails completely with a summer t-shirt). Your garment management determines whether you conceal and carry effectively or wrestle with fabric when seconds count.
Hand Position Errors Cost You Precious Seconds
Your grip determines everything that follows, yet most carriers grab their pistol incorrectly under stress. Active Response Training studies show that improper grip adds time to your draw – an eternity in a gunfight. Your thumb must ride high on the grip safety or frame, never wrapped around your fingers.
The web of your hand needs full contact with the backstrap before you start your draw stroke. Low grip positions cause muzzle flip and follow-up shot delays that turn single hits into missed opportunities. Your initial grip contact sets the foundation for everything that follows in your defensive sequence.
Speed Without Control Creates Dangerous Habits
Rushing your draw creates more problems than it solves. Training experts emphasize that shooters who focus on speed first develop jerky movements that actually slow their overall time. Your draw should accelerate smoothly through each phase rather than start fast and lose control.
Consistent draws beat erratic attempts that miss the target completely. Master the mechanics first, then gradually increase speed while you maintain precision and safety protocols (smooth execution always trumps frantic movement in real defensive situations).
Final Thoughts
Your holster draw techniques become second nature through deliberate repetition. Professional instructors recommend 15 minutes of daily dry fire practice over weekend marathon sessions. This consistent approach builds the neural pathways that function under extreme stress.
Quality instruction accelerates your progress beyond what solo practice achieves. Certified trainers identify flaws you cannot see and provide corrections that save months of bad habit reinforcement. The U.S. Concealed Carry Association reports that trained carriers respond more effectively in defensive situations than those who rely solely on self-instruction.
Your commitment to safety extends beyond personal protection to community responsibility. Every draw you practice reinforces either good habits or dangerous shortcuts (the choice shapes not just your own survival but the safety of everyone around you). We at Cloudster Pillow understand that physical discomfort leads to inconsistent carry habits, which undermines all your technical training. Explore our solutions that support your commitment to preparedness.
Pingback: Choosing the Right Compact Carry Pistols for Everyday Use
Pingback: Keeping Draw Steady Daily: CCW Drawing Practice Drills