CCW Courses and Tips, CCW Training
Essential CCW Training Drills You Can Practice at Home

Most CCW holders spend thousands on gear but neglect the most important investment: consistent training. Your firearm skills deteriorate without regular practice, yet range time isn’t always possible.
We at Cloudster Pillow know that effective CCW training happens through deliberate home practice. These proven drills will sharpen your defensive skills without firing a single round.
How Do You Master Dry Fire Fundamentals
Create Your Training Space
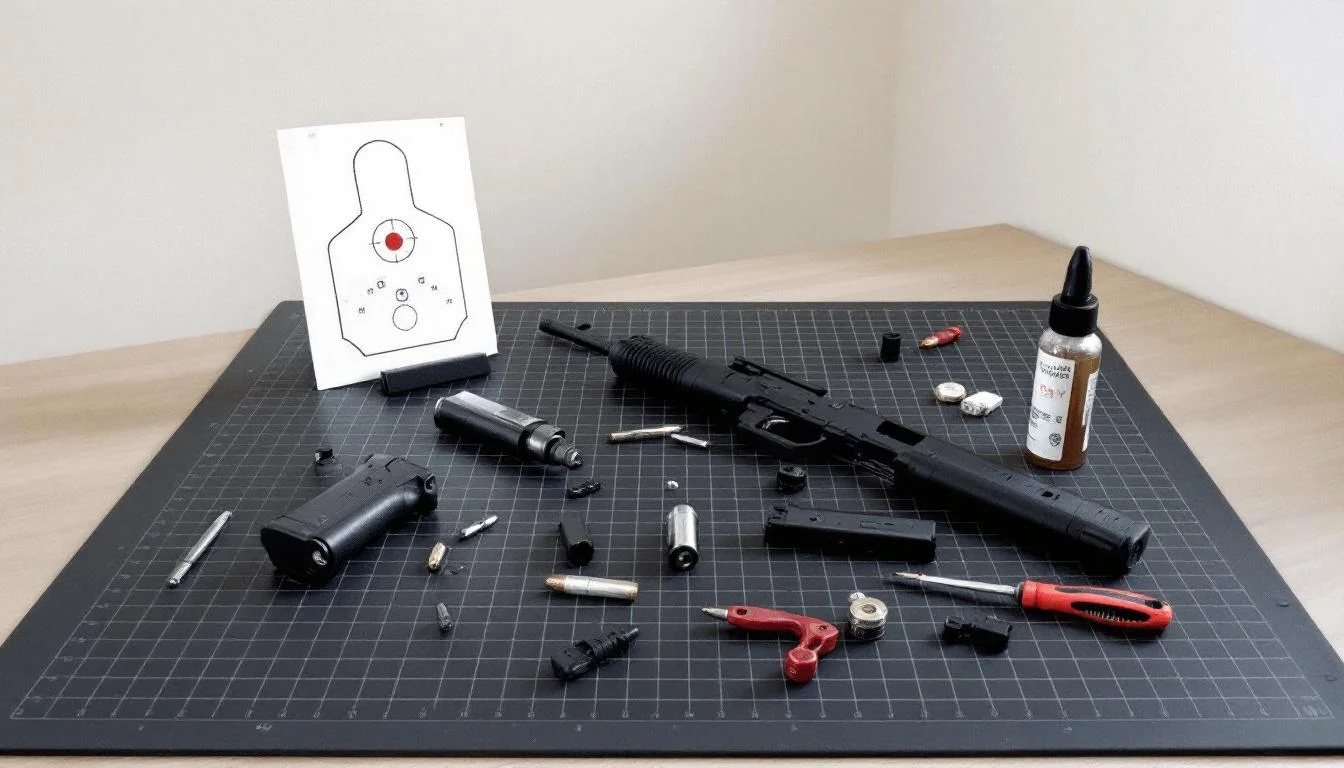
Transform your home into a professional training environment with strict safety protocols. Choose a room with a concrete or brick exterior wall as your backstop-never practice toward interior walls where bullets could penetrate. Remove all ammunition from your training area and store it in a separate room.
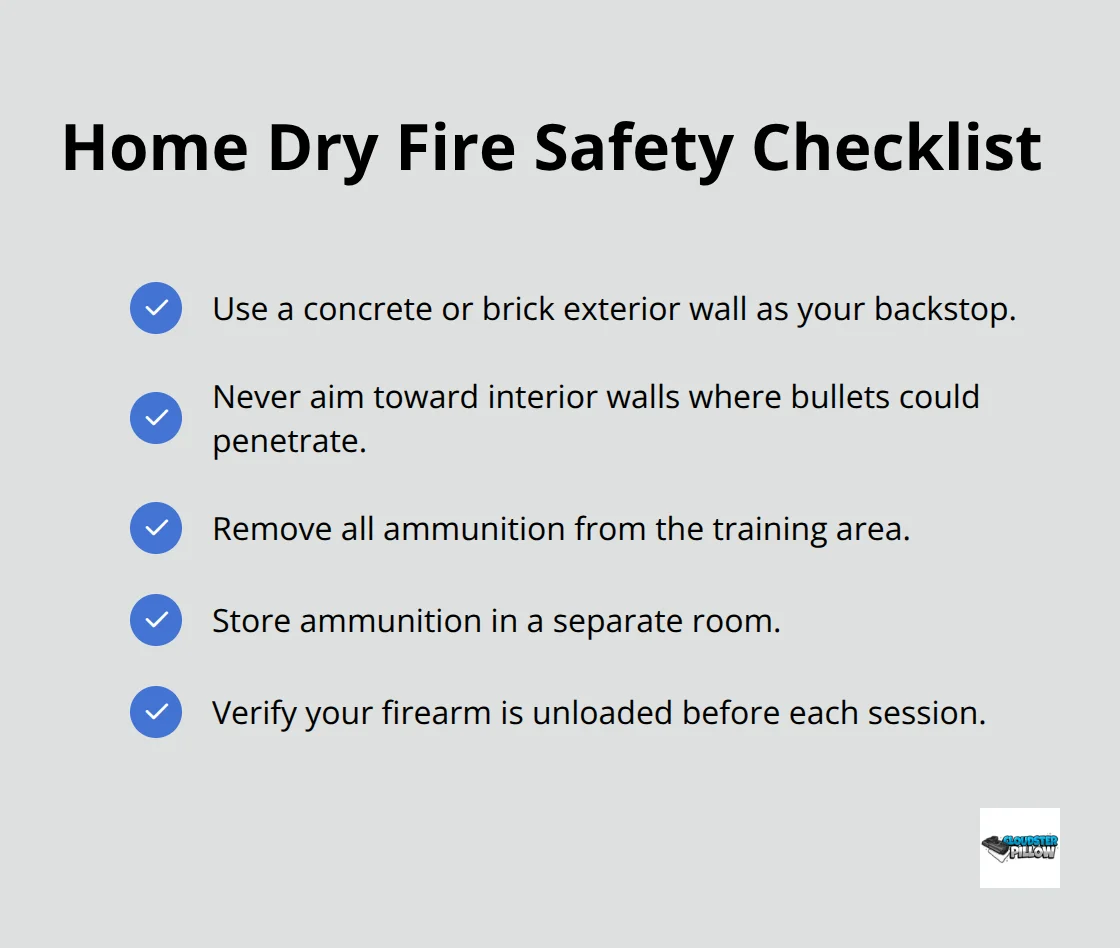
Proper safety protocols during dry fire practice are essential for preventing unintentional discharges. Check your firearm three times: visually inspect the chamber, physically feel inside the chamber, and perform a functions check before each session.
Perfect Your Foundation
Your grip determines accuracy more than sight alignment. Establish a consistent 60-40 grip pressure ratio with your strong hand providing primary control and support hand adding stability. Research shows that grip strength significantly impacts task performance in tactical situations. Position your feet shoulder-width apart with your strong-side foot slightly behind your support foot. Practice this setup for 15 minutes daily until muscle memory develops. Your stance should feel natural enough to maintain during stress without conscious thought.
Master Trigger Mechanics
Focus on straight-back trigger pressure with only your index finger pad-never the joint or tip. The average defensive trigger requires 4-5 pounds of pressure, but jerky movement destroys accuracy regardless of trigger weight. Practice the balance drill: place a penny on your front sight and press the trigger without disturbing the coin. This technique (used by Olympic shooters) builds precise trigger control within two weeks of daily practice. Hold the trigger back for one full second after the break, then slowly release to the reset point. This disciplined approach eliminates the common flinch response that affects many shooters according to training data from major firearms academies.
These fundamentals prepare you for the next critical skill: developing smooth presentation from concealment.
How Do You Perfect Your Draw From Concealment
Break Down the Draw Sequence
Your draw stroke consists of seven distinct movements that must flow together seamlessly. Start with your grip establishment on the pistol while it remains in the holster. Research indicates that finger placement shows no significant difference in contact time between various indexing positions. Pull the pistol straight up until it clears the holster completely, then rotate the muzzle toward your target while you bring your support hand to meet your firing hand. Extend both arms together to achieve full presentation and sight alignment. Practice each step separately for 10 repetitions before you combine movements. Speed comes naturally after accuracy becomes automatic.
Master Concealment Garment Clearance
Your cover garment creates the biggest obstacle in defensive situations. Sweep your shirt or jacket with your firing hand thumb and index finger in a single aggressive motion-never use your entire hand which wastes precious time. Understanding that gunfight statistics show most encounters happen quickly makes efficient garment clearance vital for survival. Practice with different clothing types including heavy winter coats, button-down shirts, and pullover hoodies. Each garment requires specific clearance techniques that become instinctive through repetition.
Optimize Your Holster Position
Position your holster high enough that garment clearance reveals the entire grip without additional adjustment. Train with a shot timer to track improvement-your goal should be consistent sub-2-second draws from concealment within 30 days of daily practice. Test different cant angles (typically 15-20 degrees forward) to find what works best with your body type and clothing preferences. The right setup eliminates wasted motion and reduces your draw time significantly.
Equipment malfunctions happen at the worst possible moments, which makes malfunction clearance training your next priority.
How Do You Handle Firearm Malfunctions Under Pressure
Master the Tap Rack Bang Sequence
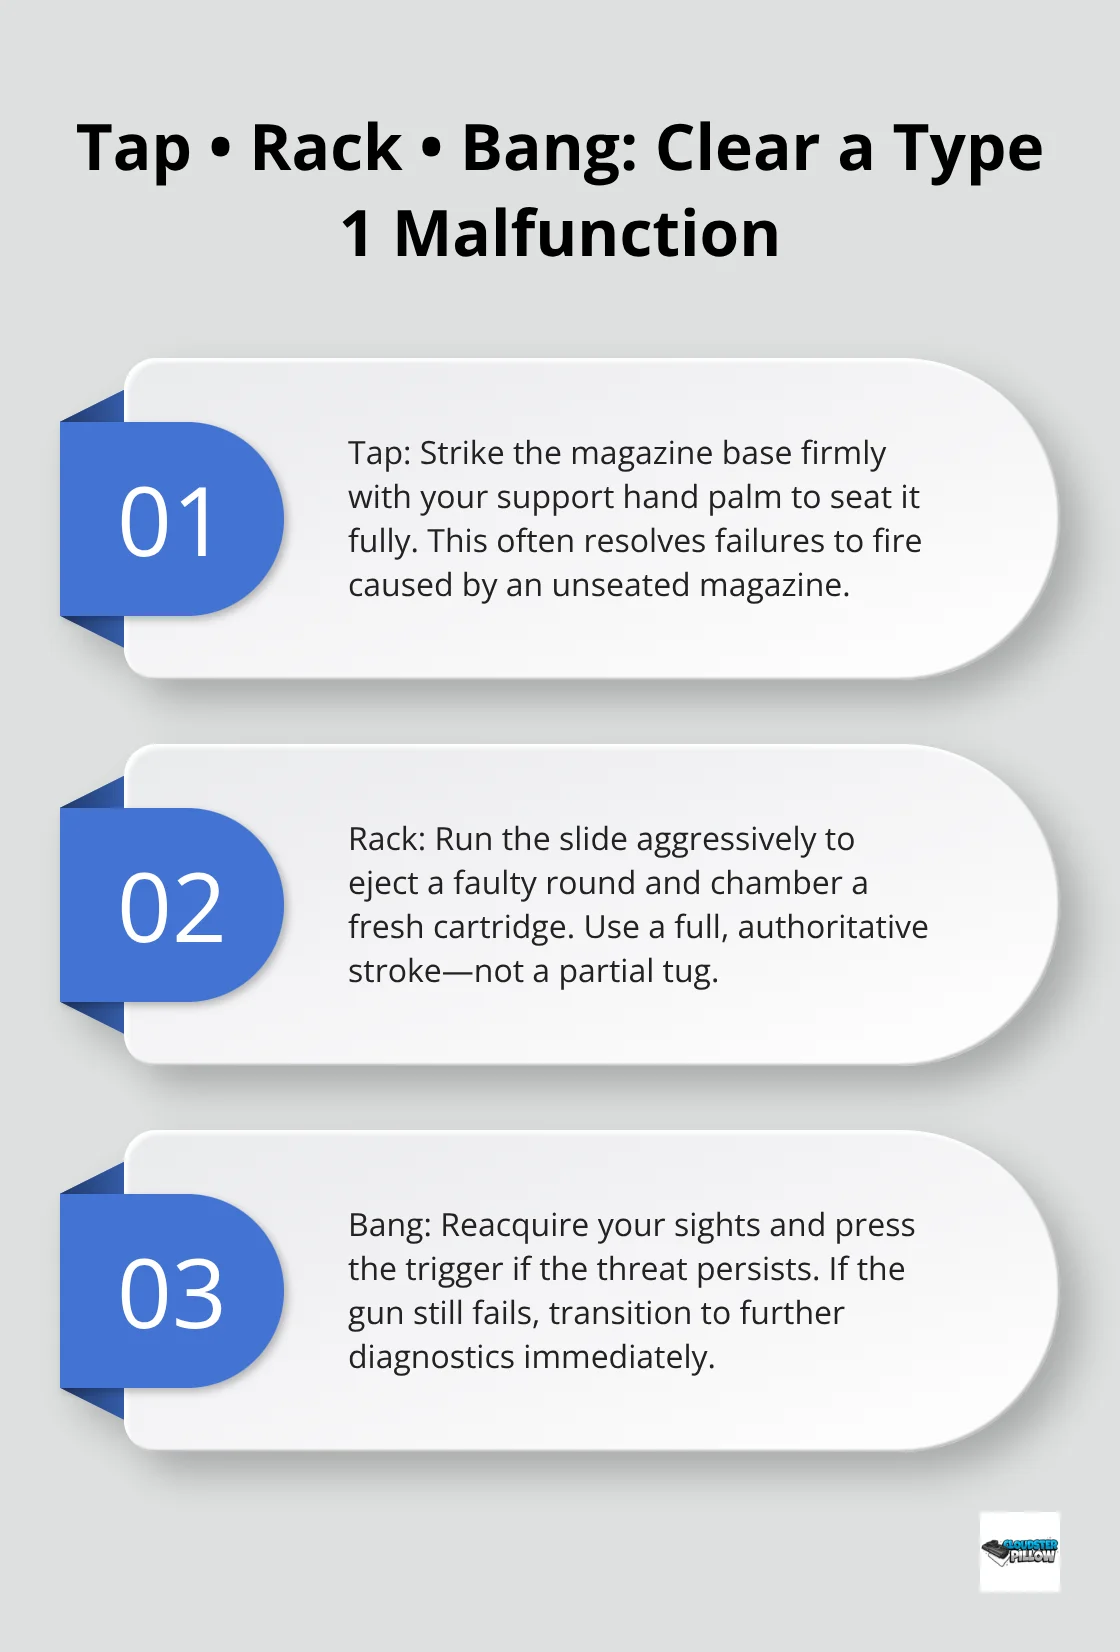
Firearm malfunctions occur in approximately 2.3% of ammunition rounds according to industry data, but your response determines survival outcomes. The tap rack bang procedure addresses Type 1 malfunctions (failure to fire) through three decisive actions. Tap the magazine base firmly with your support hand palm to seat it properly, rack the slide aggressively to eject any chambered round and load a fresh cartridge, then bang (fire) immediately if your threat still exists. Practice this sequence with dummy rounds until you complete it efficiently. Law enforcement officers must clear basic malfunctions during their semi-annual qualification courses.
Clear Double Feed Stoppages
Double feeds create the most dangerous malfunction because your firearm becomes completely inoperative until cleared properly. Lock the slide back, strip the magazine completely from the grip, rack the slide three times to clear both rounds from the chamber and ejection port, then insert a fresh magazine and release the slide. This malfunction requires immediate recognition and methodical execution-panic destroys your ability to follow the sequence correctly.
Handle Stovepipe Malfunctions
Stovepipe malfunctions (brass caught in the ejection port) demand swift recognition and immediate action. Sweep the brass away with your support hand while simultaneously you rack the slide to complete the cycle. The brass case blocks proper ejection, so aggressive slide manipulation becomes necessary to restore function. Practice this clearance with snap caps to build the muscle memory that operates when stress shuts down conscious thought.
Build Speed Through Repetition
Shooters who practice malfunction drills weekly clear stoppages faster than those who practice monthly according to training data from major academies. Use a shot timer during practice to track your improvement and build the automatic responses that save lives when your brain freezes under extreme stress. Start slow with perfect technique, then gradually increase speed as your movements become instinctive.
Final Thoughts
Effective CCW training demands commitment to daily practice sessions that last just 10-15 minutes. Professional instructors recommend three weekly sessions rather than marathon weekend training. Your skills deteriorate within 30 days without consistent reinforcement, which makes regular home practice more valuable than monthly range visits.
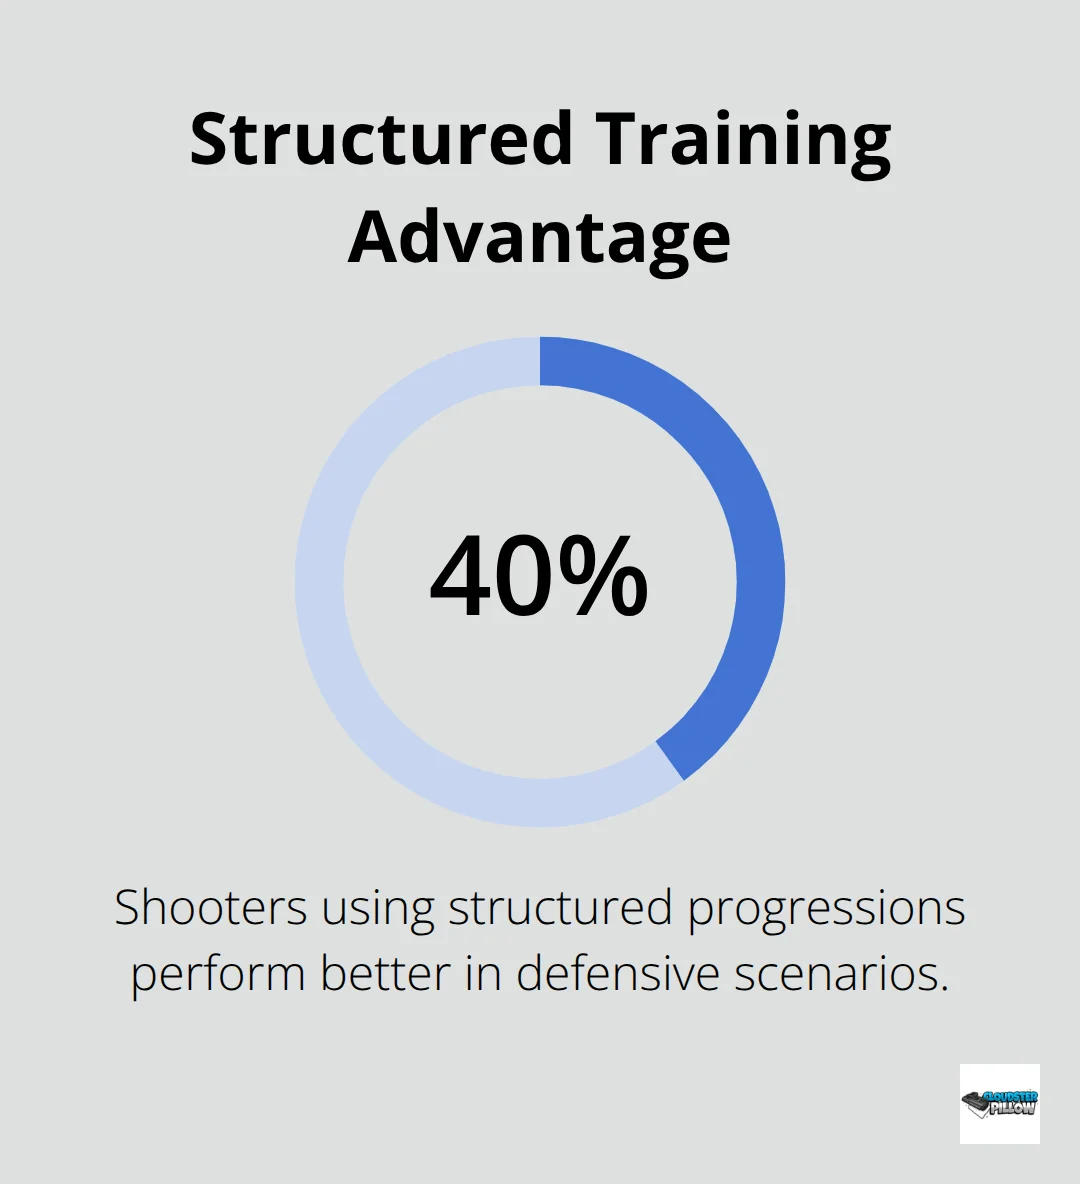
Start with basic dry fire fundamentals for two weeks before you add draw techniques. Master each skill completely before you progress to complex scenarios. This methodical approach builds reliable muscle memory that functions during high-stress encounters (training data shows shooters who follow structured progressions perform 40% better in defensive scenarios than those who practice randomly).
Comfort during extended carry sessions directly impacts your CCW training consistency. When your holster setup causes discomfort, you avoid practice and carry less frequently. We at Cloudster Pillow understand that comfortable concealment enables the consistent training habits that save lives when seconds matter most.