
Uncategorized
Battle Belt Setup: What Actually Goes on the Belt
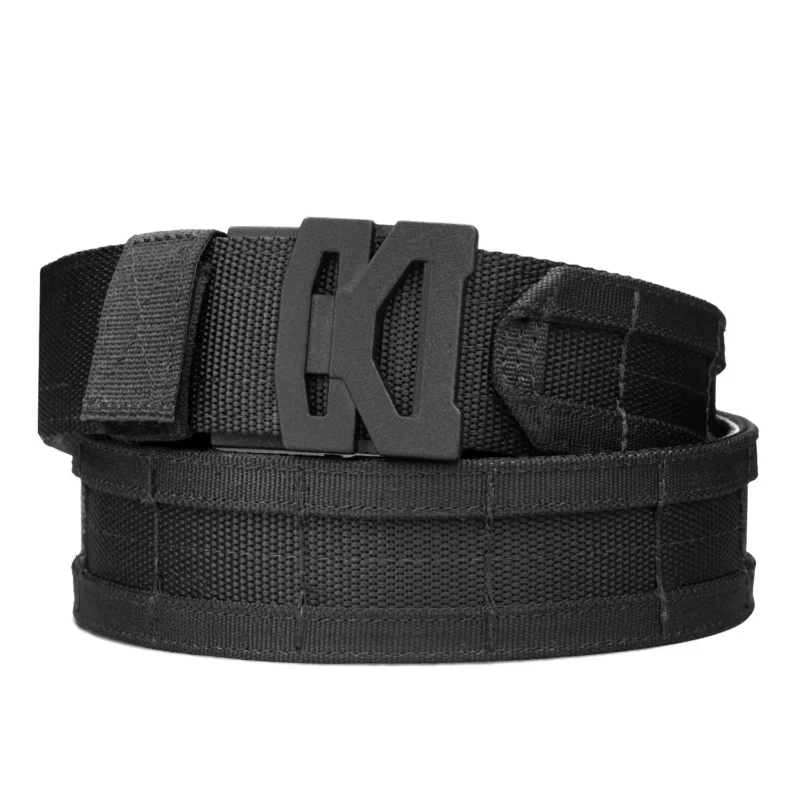
A battle belt is the one piece of kit people buy twice. The first one gets loaded like a Christmas tree, worn once, and left in the safe. The second one carries four things and actually gets used. This is a walk through how to get to the second belt first — what goes on, where it goes, and the three parts of a battle belt setup most guides skip entirely.
What is a battle belt setup, in one paragraph?
A battle belt setup is a stiffened outer belt worn over an inner belt, carrying the gear you want on your body rather than in a bag — normally a holster, spare pistol and rifle magazines, a tourniquet, and a dump pouch. Build it in that order, keep it light, and place each item where your hands already go.
Do you actually need a battle belt?
Not everyone does. If you carry concealed and that is the whole job, a good gun belt does more for you than a battle belt ever will — that is a different problem, and we cover it in the tactical gun belt guide.
A battle belt setup earns its place when you need gear on you, fast, without wearing a plate carrier: range days where you are running drills, a home-defense belt staged next to the safe, competition, a patrol or duty role, or training where you will be moving for hours. The common thread is that you want your hands to find the same thing in the same place every time.
What goes on a battle belt?
Start with this list and stop. Almost every overloaded battle belt setup started as a sensible one that kept gaining pouches.
| Item | Why it’s on the belt | Priority |
|---|---|---|
| Holster | The reason the belt is stiff. Everything else is secondary to a stable draw. | Essential |
| Pistol magazine pouch | One or two spares. Single or triple depending on the job. | Essential |
| Tourniquet | The one item that is not about shooting. Reachable with either hand. | Essential |
| Rifle magazine pouch | Only if a rifle is part of the plan. | Situational |
| Dump pouch | Somewhere to put partial mags instead of dropping them. | Situational |
| IFAK | Beyond the tourniquet — gauze, chest seal, gloves. | Situational |
| Light, knife, comms | Add last, and only if you will actually use them. | Optional |
We stock the Kore pouches for exactly this: pistol, rifle and triple mag pouches that attach to the same two rows of webbing the belt already has, plus the Kore Dump Pouch, which straps onto the 1.75″ belt with its included One-Wrap Velcro.
Where does each item go?
There is no regulation layout, but there is a pattern that keeps showing up because it works:
- Strong side: holster. Nothing else competes for that space.
- Strong-side front, just ahead of the holster: nothing. Leave it clear so your draw hand has a straight path.
- Support side front: pistol magazines, where your support hand naturally lands.
- Support side, slightly rearward: rifle magazines.
- Centre back or support-side rear: dump pouch. It is the thing you reach for with the least urgency.
- Tourniquet: front, on the support side, mounted so either hand can reach it. This is the one item you may be retrieving injured.
Then sit down in a chair and get into a vehicle wearing it. Half of a battle belt setup is discovering which pouch digs into your ribs when you are seated.
Three battle belt setups, by what you’re doing
The same belt covers very different jobs. Here is what a battle belt setup looks like for each:
| Use | What goes on | The thinking |
|---|---|---|
| Range / training | Holster, 2–3 pistol mags, dump pouch, tourniquet | High round count, lots of reloads. The dump pouch stops you throwing partial mags in the dirt. |
| Home defense | Holster, 1 pistol mag, 1–2 rifle mags, tourniquet, light | Staged, not worn. It should be grabbable in the dark and put on over whatever you sleep in. |
| Duty / patrol | Holster, cuffs, spare mags, tourniquet, radio | Worn for a full shift, so weight distribution matters more than capacity. A 2.25″ duty belt is often the better platform here. |
How do you mount a holster to a battle belt?
This is the question the setup guides tend to skip, and it is the one that decides whether the whole battle belt setup works. Three routes:
- Belt loops or clips straight onto the outer belt. Simplest. The holster rides high and tight to the belt, which is fine for a range belt and cramped for a full draw.
- A drop or mid-ride adapter. Drops the holster an inch or two so the grip clears the belt line and your plate carrier. This is what most people are missing when they say their draw feels cramped.
- A dedicated holster mount. The Kore holster mount bolts to the belt and gives you a fixed, repeatable position rather than something that shifts as the belt flexes.
Whichever you pick, the test is the same: draw slowly ten times and see whether your grip is full and identical each time. If you are adjusting your hand on the way up, the holster is in the wrong place or at the wrong height.
Why a loaded battle belt starts to hurt
A belt with a holster, three mags and a tourniquet on it is carrying real weight, and that weight sits on your iliac crest — the bony ridge at the top of your hip. Nylon webbing over a bone, for hours, is exactly as comfortable as it sounds.
Two things fix it. First, a padded inner belt. Kore charges the same for the reinforced and the padded reinforced inner belt, so there is no reason to take the unpadded one — ask for padded and that is what ships. Second, hip pads, which put foam between the belt and the bone where the load actually concentrates.
Comfort is not a soft consideration on a belt. An uncomfortable battle belt setup gets left at home, and gear you do not wear does nothing for you.
How should a battle belt fit?
Snug enough that a loaded belt does not rotate, loose enough that you can breathe and sit. That is a narrower window than it sounds, and it moves — over a plate carrier it is one size, over a t-shirt another, and after four hours it is different again.
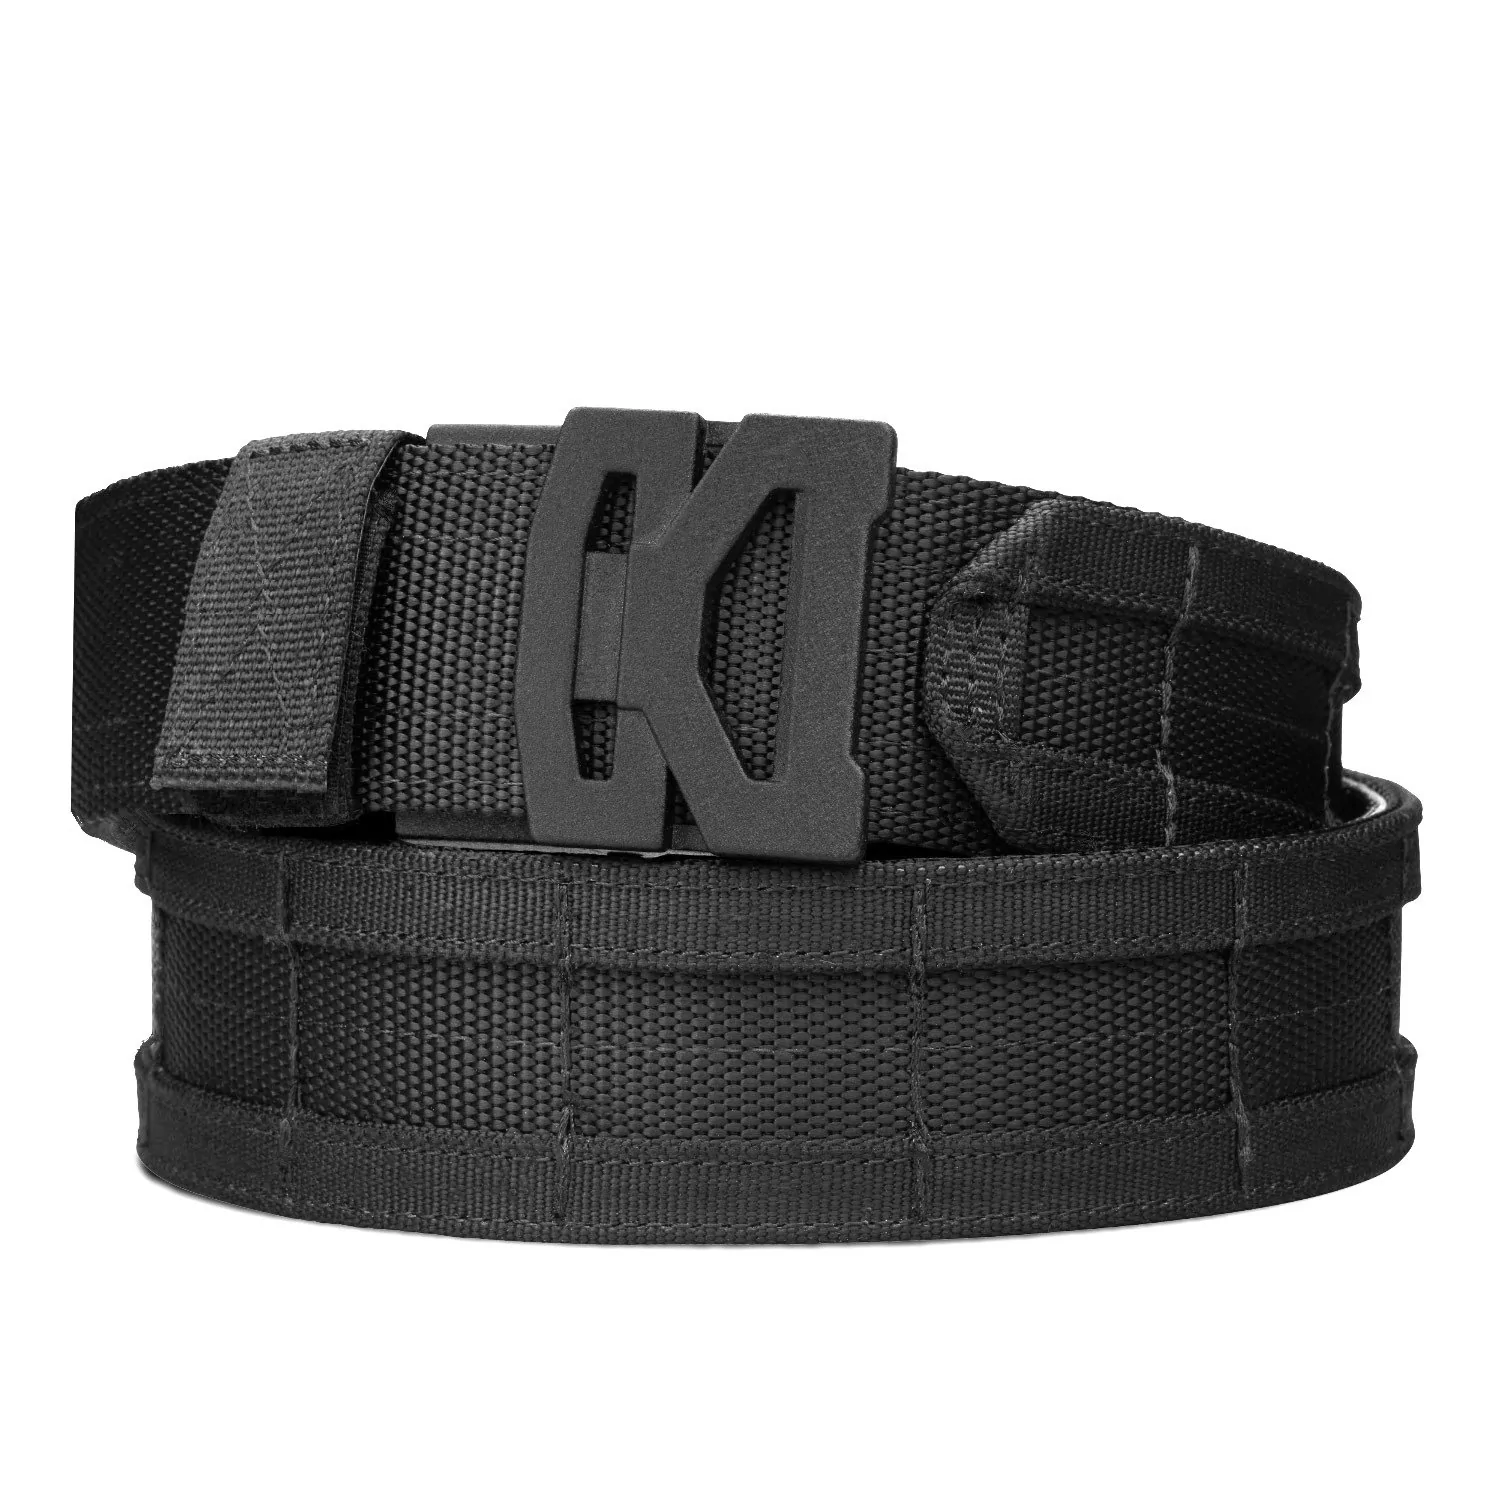
Traditional belts adjust in one-inch jumps between holes, so you get one fit and live with it. The Kore battle belts we carry run a hidden ratchet track with 20+ positions in quarter-inch increments, and adjust without unthreading the buckle. Practically, that means you snug it down before a drill and let it out in the truck, rather than picking a hole and enduring it. The same mechanism is why a ratcheting belt holds a heavy load better than a holed one — the logic is laid out in how stiff a carry belt should be.
One warning that costs people money: these belts are cut to length, and a cut belt cannot be returned or exchanged. Measure over the gear you will actually wear it with, and if you are between sizes, leave it long on the first cut.
Mistakes worth avoiding
- Loading it because there is space. Two rows of MOLLE is an invitation, not an instruction.
- Skipping the inner belt. The inner belt is what stops the whole rig rotating. Without it you have a heavy belt spinning on your waist.
- Mounting the tourniquet where only your strong hand reaches it. Think about which hand might be out of action.
- Never sitting down in it. Almost every layout problem shows up in a chair or a driver’s seat, not standing in the garage.
- Buying the belt last. People spend on pouches and then hang them off something that sags. The belt is the platform; everything else is cargo.
Questions people actually ask
What is the difference between a battle belt and a duty belt?
Width and job. Battle belts are typically 1.75″ with MOLLE webbing for a modular, mission-specific load. Duty belts are 2″ or 2.25″, built for a full shift of fixed equipment. If you are wearing it eight hours a day in uniform, look at duty; if you are loading it for a range session or staging it at home, battle.
Do I need a padded battle belt?
If the belt carries a holster plus magazines, yes — or at minimum a padded inner belt, which costs nothing extra. Padding is the difference between a belt you wear all day and one you take off at lunch.
Can I use a battle belt for concealed carry?
No. It is an outer belt worn over your clothing with pouches on it; concealment is not the goal. For concealed carry you want a proper gun belt.
B1 or B2 buckle — which should I get?
Only the buckle face differs. Same track, same 20 lb rating, same kit, same price. Pick the one you prefer the look of.
Where should the tourniquet go?
Front, support side, reachable with either hand. The American College of Surgeons’ Stop the Bleed programme is the right place to learn how to use one — carrying a tourniquet you have never trained with is a decoration.
Where to start
If you are building your first one: get the belt right, add a holster, one magazine pouch and a tourniquet, and wear it three times before you buy anything else. A battle belt setup earns items; it does not start with them.
The belts we carry are the Kore 1.75″ MOLLE battle belts — B1 or B2 buckle, six colours, 20 lb rated, with the ratchet track and the padded inner belt included. Most people start with the B2 battle belt, then add pouches as the plan calls for them. If a pouch won’t sit where you want it, a MOLLE extender gives you more room to mount it.
