Uncategorized
Duty Belt Setup: How to Lay Out a Police Duty Belt
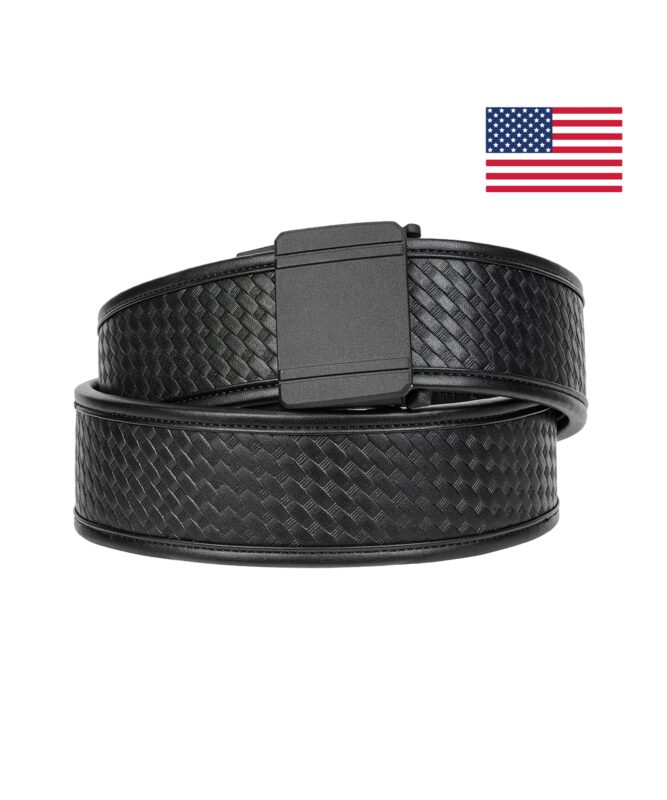
A duty belt setup starts with your department’s policy, then puts each tool where your hands expect to find it: the firearm on your dominant side, spare magazines and a cross-draw TASER on the support side, handcuffs at the front or the back, and the radio on the support side. Belt keepers go on each side of the holster, the outer duty belt attaches to an inner belt threaded through your trouser loops, and the weight is spread so nothing heavy sits where you lean back in a car seat.
Below is the layout police duty-gear guides commonly describe, the reason each item goes where it does, and the parts of the belt itself (keepers, the inner belt and the width) that decide whether the rig stays put for a full shift.
Before you buy anything: check your department’s policy
Agencies often issue the duty holster, some issue pouches too, and many set rules on what you carry. Some also set where it goes. Read your policy and procedure manual before you buy gear: Police1’s equipment-placement guide points out that most duty equipment can’t be returned once it has been used, and much of it is expensive.
What goes on a police duty belt
Police1’s guide to the duty belt lists the standard items:
- Firearm in a duty holster
- Spare magazines in pouches
- Handcuffs (often one or two sets)
- Handheld radio
- TASER or other conducted energy weapon
- OC (pepper) spray
- Expandable baton
- Flashlight
- Tourniquet
- Gloves, and a multi-tool or knife
Not every agency requires all of them. Some, for example, ask officers to carry two of the three less-lethal tools (baton, TASER and OC spray) rather than all three.
Duty belt layout: where each item goes
A simple way to plan it is to split the belt into three zones. The front, from the belly button to the hip bones, is the easiest to reach. The sides, from the hip bones back, come next. The back is the hardest to reach, so it suits items you don’t need in a hurry.
| Item | Common position | Why |
|---|---|---|
| Firearm | Dominant side, in a retention holster | The fastest, most natural draw, and the one you train until it is automatic. |
| Spare magazines | Support side, toward the front | Opposite the gun for balance, where the support hand reaches them for a reload. Keep the pouch opening clear of other gear. |
| TASER / CEW | Support side, set up for a cross-draw | Drawn across the body with the dominant hand, so it can’t be confused with the firearm. |
| Handcuffs | Front, near the buckle, or at the rear or support side | At the front they can be reached with either hand, with no reaching around to the back. At the rear they stay out of the way. |
| OC spray | Front or side | Within reach of either hand, close to the transition to the firearm. |
| Radio | Support side | Leaves the dominant side free. Police1 notes it is often paired with a chest microphone. |
| Baton | Support side | Police1 lists the support side as its usual position. |
| Flashlight | Support side | The light goes in the support hand, which leaves the dominant hand free for a weapon. |
| Tourniquet | Front, reachable with either hand | It has to be reachable with either hand without getting in the way of other gear. |
One common order, from Police1’s placement guide: working from the front center toward your strong side, the handcuff case, then the OC spray, then the holster with nothing behind it. Working from the front center toward the support side, the magazine pouches, then the cross-draw TASER, then the radio.
Keep the space behind the holster empty
Police1 notes reports of gear sliding along the belt behind the holster and, with some holsters, stopping the gun from being drawn. Keep that space empty, and use keepers so nothing can migrate into it.
The point of a fixed layout
The goal is to reach for anything without looking, and to put it back the same way. Police1 describes an officer under stress who tried to put his OC spray into the magazine well of his pistol. That kind of cross-grab is the reason for a cross-draw TASER and for giving every item one permanent place.
Belt keepers: how many and where
Belt keepers are short straps that wrap around the duty belt and the belt underneath it (the inner or trouser belt), tying the two together so the duty belt and its gear stop sliding. There is no fixed number. Start with one on each side of the holster, add one on each side of the TASER, then add more wherever the belt still shifts.
Kore’s duty belt kits come with one tip keeper, which holds the loose end of the strap. A tip keeper is not a belt keeper; belt keepers are a separate purchase.
Inner duty belt: why the outer belt needs one
A two-belt duty system uses a 1.5″ inner belt that goes through your trouser belt loops, and a wider outer duty belt that attaches to it with hook-and-loop. On Kore’s duty belts:
- The outer belt’s hook lining grips the inner belt’s soft loop face.
- Both belts have Kore’s reinforced Power-Core center for stiffness.
- The inner belt has a flexible section that adjusts together with the outer belt, so there is no thick velcro-over-velcro overlap.
Kore states that its outer duty belts must be used with the Kore inner belt for the micro-adjustment to work. Every duty belt we carry is a complete kit with the inner belt included, and you choose a padded or non-padded inner belt at the same price. Kore says the only difference between the two is 2 mm of padding.
2″ or 2.25″ duty belt?
Kore makes both. On its spec pages, both are 7 mm thick, rated for up to 30 lb and adjustable in quarter-inch steps across more than 20 sizing positions. The differences are the buckles and the sizes:
- 2.25″: D1, D2 or D3 buckles; fits 24″–48″, plus an XL that fits 48″–60″.
- 2″: P1 or P2 patrol buckles; one size, fits 24″–48″. Kore lists the 2″ belt as not compatible with its 2.25″ D-series buckles.
Check whether your department specifies a width or a finish. Your holster and pouches also need belt loops made for the width you choose, so check those before you buy the belt. For how width changes the way a loaded belt wears, see our leather duty belt guide.
Weight and comfort over a shift
Police1 puts a fully equipped duty belt at roughly 15 to 25 pounds, depending on the gear the department requires. Kore rates its 2″ and 2.25″ duty belts for loads up to 30 lb.
- Balance it. Don’t cluster the heavy items on one side. Spread them around the belt.
- Keep the back clear where you can. Gear at the back presses into you in a patrol car seat, which is why some officers keep almost everything forward of the hips.
- Fit it snug. Too tight restricts movement. Too loose lets the belt sag and the gear shift. Kore’s ratchet adjusts in quarter-inch steps without taking the belt off, so you can let it out on a long drive and tighten it again on foot.
- Take some weight off the belt. Some officers wear suspenders, and some agencies offer load-bearing vests to move part of the load.
Duty belt setup questions
How do you set up a police duty belt?
Check your department’s policy first. Thread the inner belt through your trouser loops and attach the outer belt. Then mount the gear: the firearm on the dominant side, magazines and a cross-draw TASER on the support side, handcuffs at the front or the back, the radio on the support side, and a keeper on each side of the holster.
What order does gear go on a duty belt?
One common order, from the front center toward the strong side: handcuffs, OC spray, then the holster with nothing behind it. From the front center toward the support side: magazine pouches, the cross-draw TASER, then the radio.
How many belt keepers do I need?
Start with one on each side of the holster. Add one on each side of the TASER, then more wherever the belt still moves.
Do I need an inner belt for a duty belt?
For a two-belt system, yes. The inner belt goes through your trouser loops and the outer belt attaches to it. Kore’s duty belts need the Kore inner belt for the micro-adjustment, and it comes in the kit.
How much does a loaded duty belt weigh?
About 15 to 25 pounds, according to Police1. Kore’s duty belts are rated for up to 30 lb.
The duty belts we carry
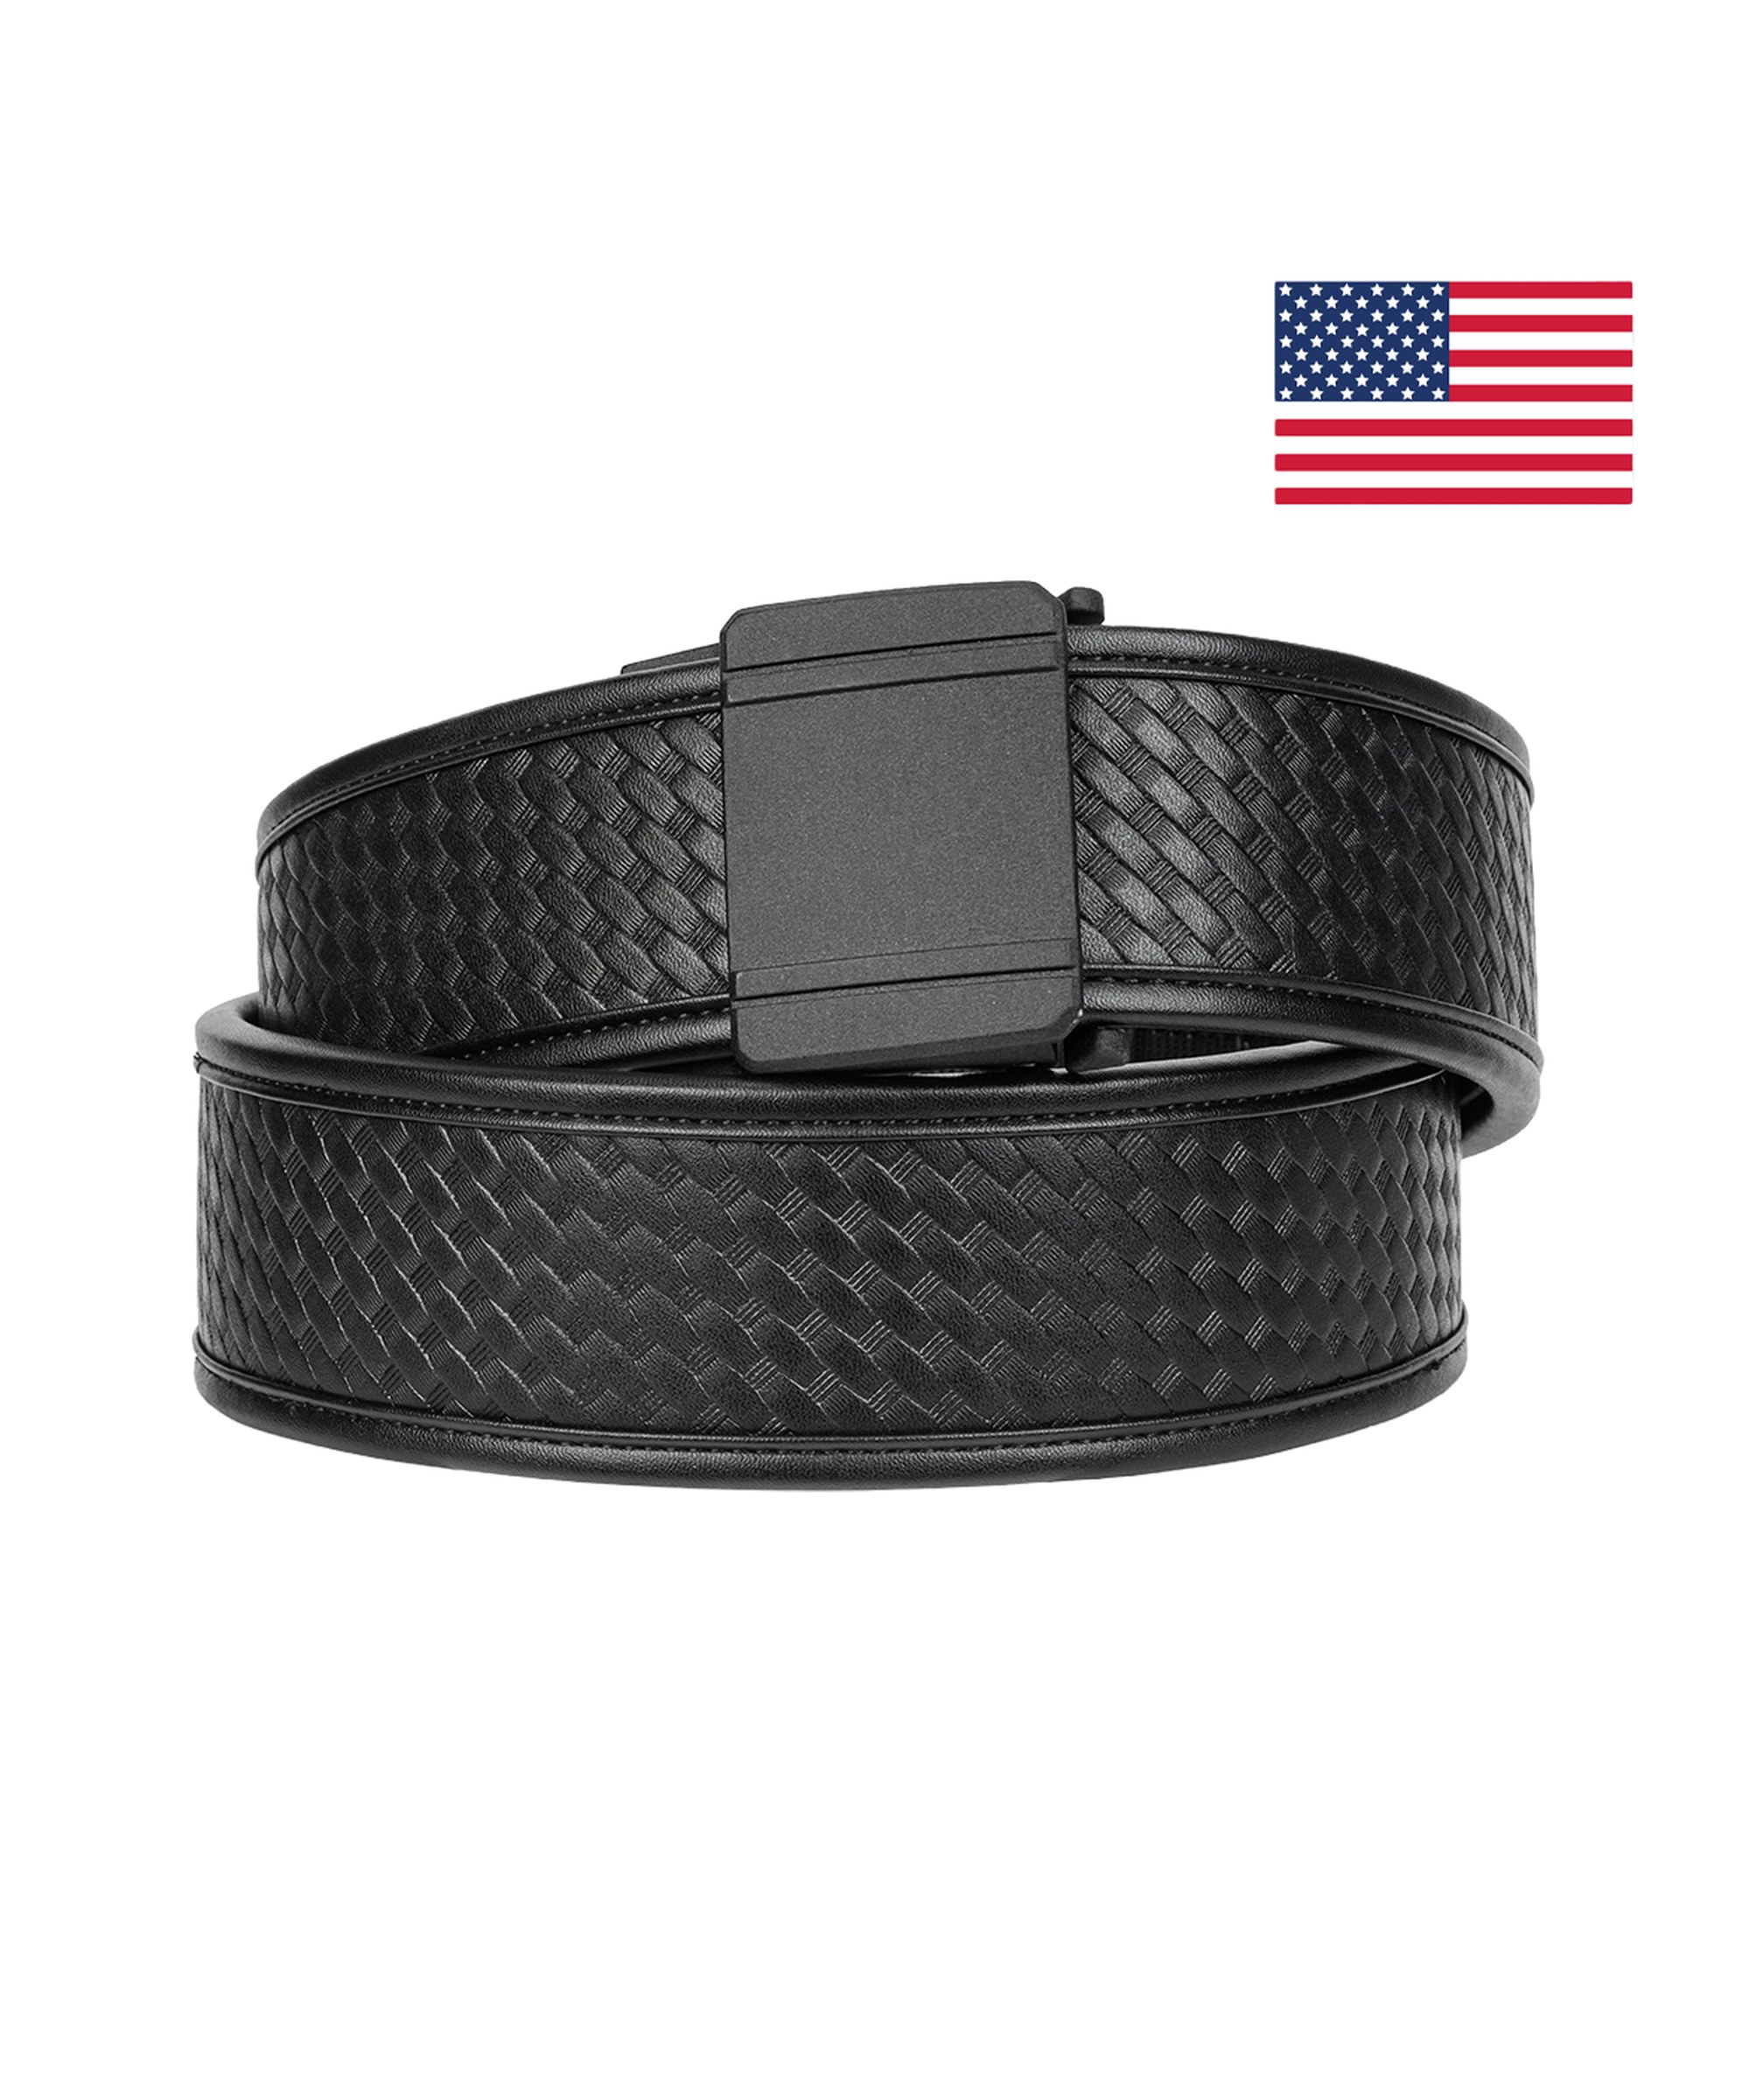
All six are Kore complete kits with the outer belt, the 1.5″ inner belt, a buckle, a tip keeper, an inner belt clip and the hex wrench, from $159.95. See them side by side in duty belts.
- 2.25″: Kore Leather Duty Belt 2.25″, Kore Basketweave Duty Belt 2.25″ and Kore Nylon Duty Belt 2.25″. $159.95 with a D1 or D2 buckle; $169.95 in XL or with a D3 brass or chrome buckle; $179.95 for D3 in XL.
- 2″ patrol: leather, basketweave and nylon, $159.95 with a P1 or P2 buckle.
Duty belts are cut to length when you fit them, and Kore doesn’t accept returns on cut belts. Measure over your uniform first with our Kore belt sizing guide.