Holsters and Gear Recommendations
How to Draw a Gun From a Holster: The Steps, From Concealment
Quick answer: Drawing a gun from a concealed holster follows the same short sequence in the guides below: face the threat, clear the cover garment, take a full shooting grip, pull the gun straight up out of the holster, rotate it toward the target, join hands, and push out. The sources say to practice slowly with a verified unloaded gun.
The Six Steps, From Shooting Illustrated
NRA’s Shooting Illustrated splits the draw from concealment into “six steps and two phases,” and says “No matter how the gun is carried the process is the same.”
| Phase | Step, in the source’s words |
|---|---|
| Preparation | 1. “Orient yourself towards the threat.” |
| 2. “Clear the cover garment or open the carry compartment.” | |
| 3. Place your hand on the gun “and establish a shooting grip.” | |
| Execution | 4. “Pull the hand gun completely from the holster.” |
| 5. “Orient the gun towards the threat and establish a two hand grip.” | |
| 6. “Thrust the gun towards the threat as you make a final situation assessment.” |
The article explains why concealment is the hard part: “The slowest part of drawing a handgun from concealment involves getting your hand on the gun. Once it’s in your grasp, you can get it out and on target relatively quick.”
Clearing the Cover Garment
How you clear the garment depends on what you wear and where you carry. Shooting Illustrated gives these cases:
- Belt carry with a long shirt: “with your weak hand, reach across your body and lift the shirt above the handgun’s grip.”
- Open-front jacket: “sweep the jacket out of the way with your strong hand.”
- Cross-draw or shoulder holster: “sweep or open the jacket with your weak hand.”
- Purse or pouch: “open the compartment, ideally with your weak hand.”
- Ankle holster: step one “would involve dropping to one knee while orientating towards the threat,” and step two “would be lifting your pants leg above the holster.”
For position-specific setups, see our guides to appendix carry and cross draw holsters.
The Draw Stroke in Four Steps
A guide published on Chris Sajnog’s blog, “Learn How To Draw A Pistol In 4 Easy Steps,” breaks the stroke itself into four movements:
- Grip: “breaking the weapon retention system on the holster (thumb break, hammer hood, or other retention) along with establishing your grip.” It adds: “It’s very difficult and time consuming to adjust your grip once the weapon is in your hand, so make sure you get it right out of the holster.”
- Clear and rotate: “drawing the pistol straight up so the muzzle clears the holster, driving your elbow down and shifting the muzzle from the down position to the down range position.”
- Hands together: “marrying your hands up, high in the center of your chest and establishing a good support-hand grip.”
- Press out: “punching your arms forward as you begin to pick up the front sight and establish a good sight picture.”
The guide warns against arcing the gun up or out, and says “from the time you rotate the gun out of your holster, you should be able to hit your target at any point during your draw stroke.”
How to Practice the Draw
The USCCA’s advice: “Practice drawing your verified unloaded carry gun. Do this as realistically as possible using your carry firearm and regular holster. Wear the same clothes you would during the average day.” It continues: “Do this in slow motion while focusing on consistency of technique for every draw.”
Shooting Illustrated says to start “with a for damn sure unloaded gun,” work through the first three steps, then the full draw, and “practice this for about ten minutes every day for a week” before adding live fire. Its summary: “Smooth means fast!”
Our daily drawing practice guide covers drills once you know the steps, and our dry fire guide covers practicing safely at home. For what makes a holster quick to draw from, see our quick draw holster guide. For putting the gun back, see our holstering guide.
Holster Comfort and the Draw
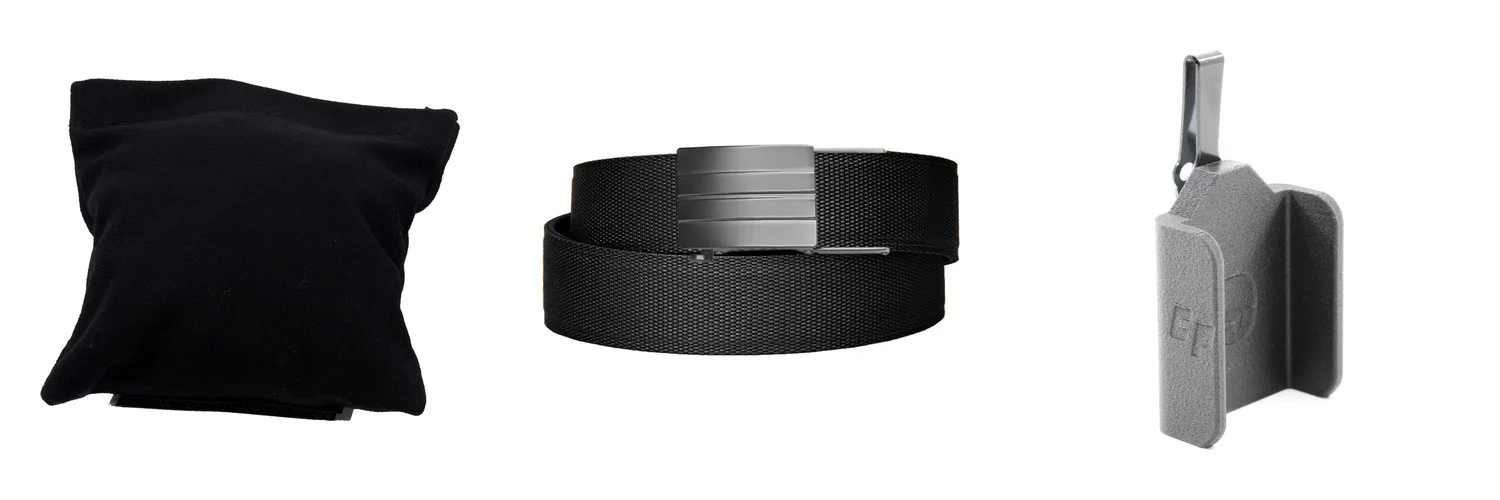
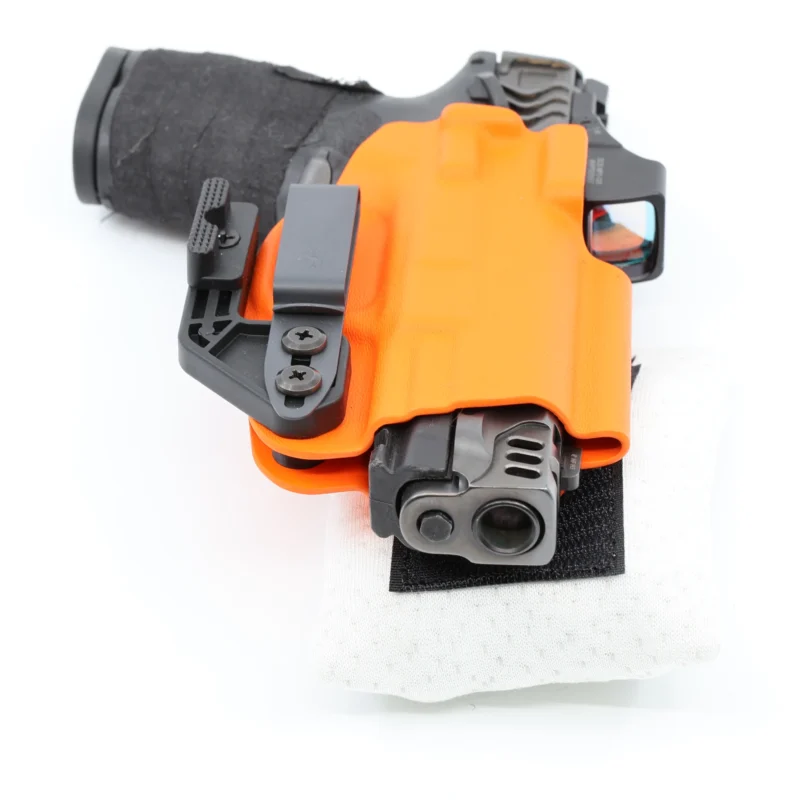
For inside-the-waistband carry, the Cloudster Pillow holster wedge mounts to any flat-back IWB or AIWB holster with hook-and-loop, angles the grip into your body, and has memory-foam fill you can add or remove to set its thickness. Our guide on holster wedges and draw speed covers how a wedge changes the grip position.
How to Draw a Gun: Questions People Ask
What is the first step in drawing from concealment?
Shooting Illustrated starts with orienting toward the threat, then clearing the cover garment.
Which hand clears the shirt?
For belt carry under a long shirt, Shooting Illustrated says the weak hand reaches across and lifts the shirt above the grip; an open jacket is swept aside with the strong hand.
Why pull the gun straight up first?
The Sajnog guide says to draw straight up until the muzzle clears the holster before rotating it toward the target.
How should I practice?
Both sources say to start slowly with a verified unloaded gun, using your normal holster and clothes.
Written by the Cloudster Pillow team. We make the Cloudster Pillow and the Cloudster magnetic mag carriers, and carry Kore belts. We don’t sell holsters or firearms, and no maker paid to be mentioned here. This page summarizes published guidance from the sources named; it is general information, not a substitute for professional training, and not legal advice.